Category Archives: art assemblage

Paper dolls and muscle memory

Paper dolls and muscle memory, what do they have in common, you might ask. With a cursory glance they don’t, but if you look closer, you’ll see that my paper dolls have clay faces, and I make a lot of clay faces.

Muscle memory comes into the picture when I feel as if I can make and paint the faces in my sleep. That is how art is sometimes.

The more you practice art, the deeper you get with the process, and much of the action comes from using your muscles to repeat the process. You don’t worry about it; you just do it.

MAKING ART FRIGHTENS ME

When people sit down at an art table for the first time, it’s like the first time they sit in the car they’re supposed to drive. It’s intimidating and scary, but somehow you overcome the fear and “let it roll.”

That’s why art classes are a good way to get going with art. A good teacher will take you by the virtual hand and show you what to do, as with any new subject you approach. Think of it like learning a new language. At first, you only know a few words. After a year or so, you can speak haltingly and understand much of what people say in that language.

ART IS DIFFERENT BECAUSE IT’S ALWAYS NEW

Unless you paint the same motif every day, you’ll face the challenge of putting something on the blank page. Many artists paint the same style and motifs over and over, and they learn from that, but how do you explore wider vistas? You can add an element to the well-trod path. If you paint, incorporate some paper collage, or use colors you stay away from normally.

To grow as artists, we have to go down unfamiliar paths, but what we’ve learned along the way, is easy, it comes without struggle, like muscle memory for those who lift weights. You trust that your hands can do the work!

I digress..

Let’s get back to paper dolls. I have had many questions on how to paint clay faces, so I made a video, How to paint clay faces, Part 1.

The faces evolved into funky paper dolls, so you can check out the second video, How to add a painted face to a mixed media paper doll, Part 2.

I realized the faces could be used with so many styles, and how you dress the dolls, is a challenge because there are so many choices. The possibilities are endless. That’s where the exploration begins. But make a clay face first. It’s not that hard!

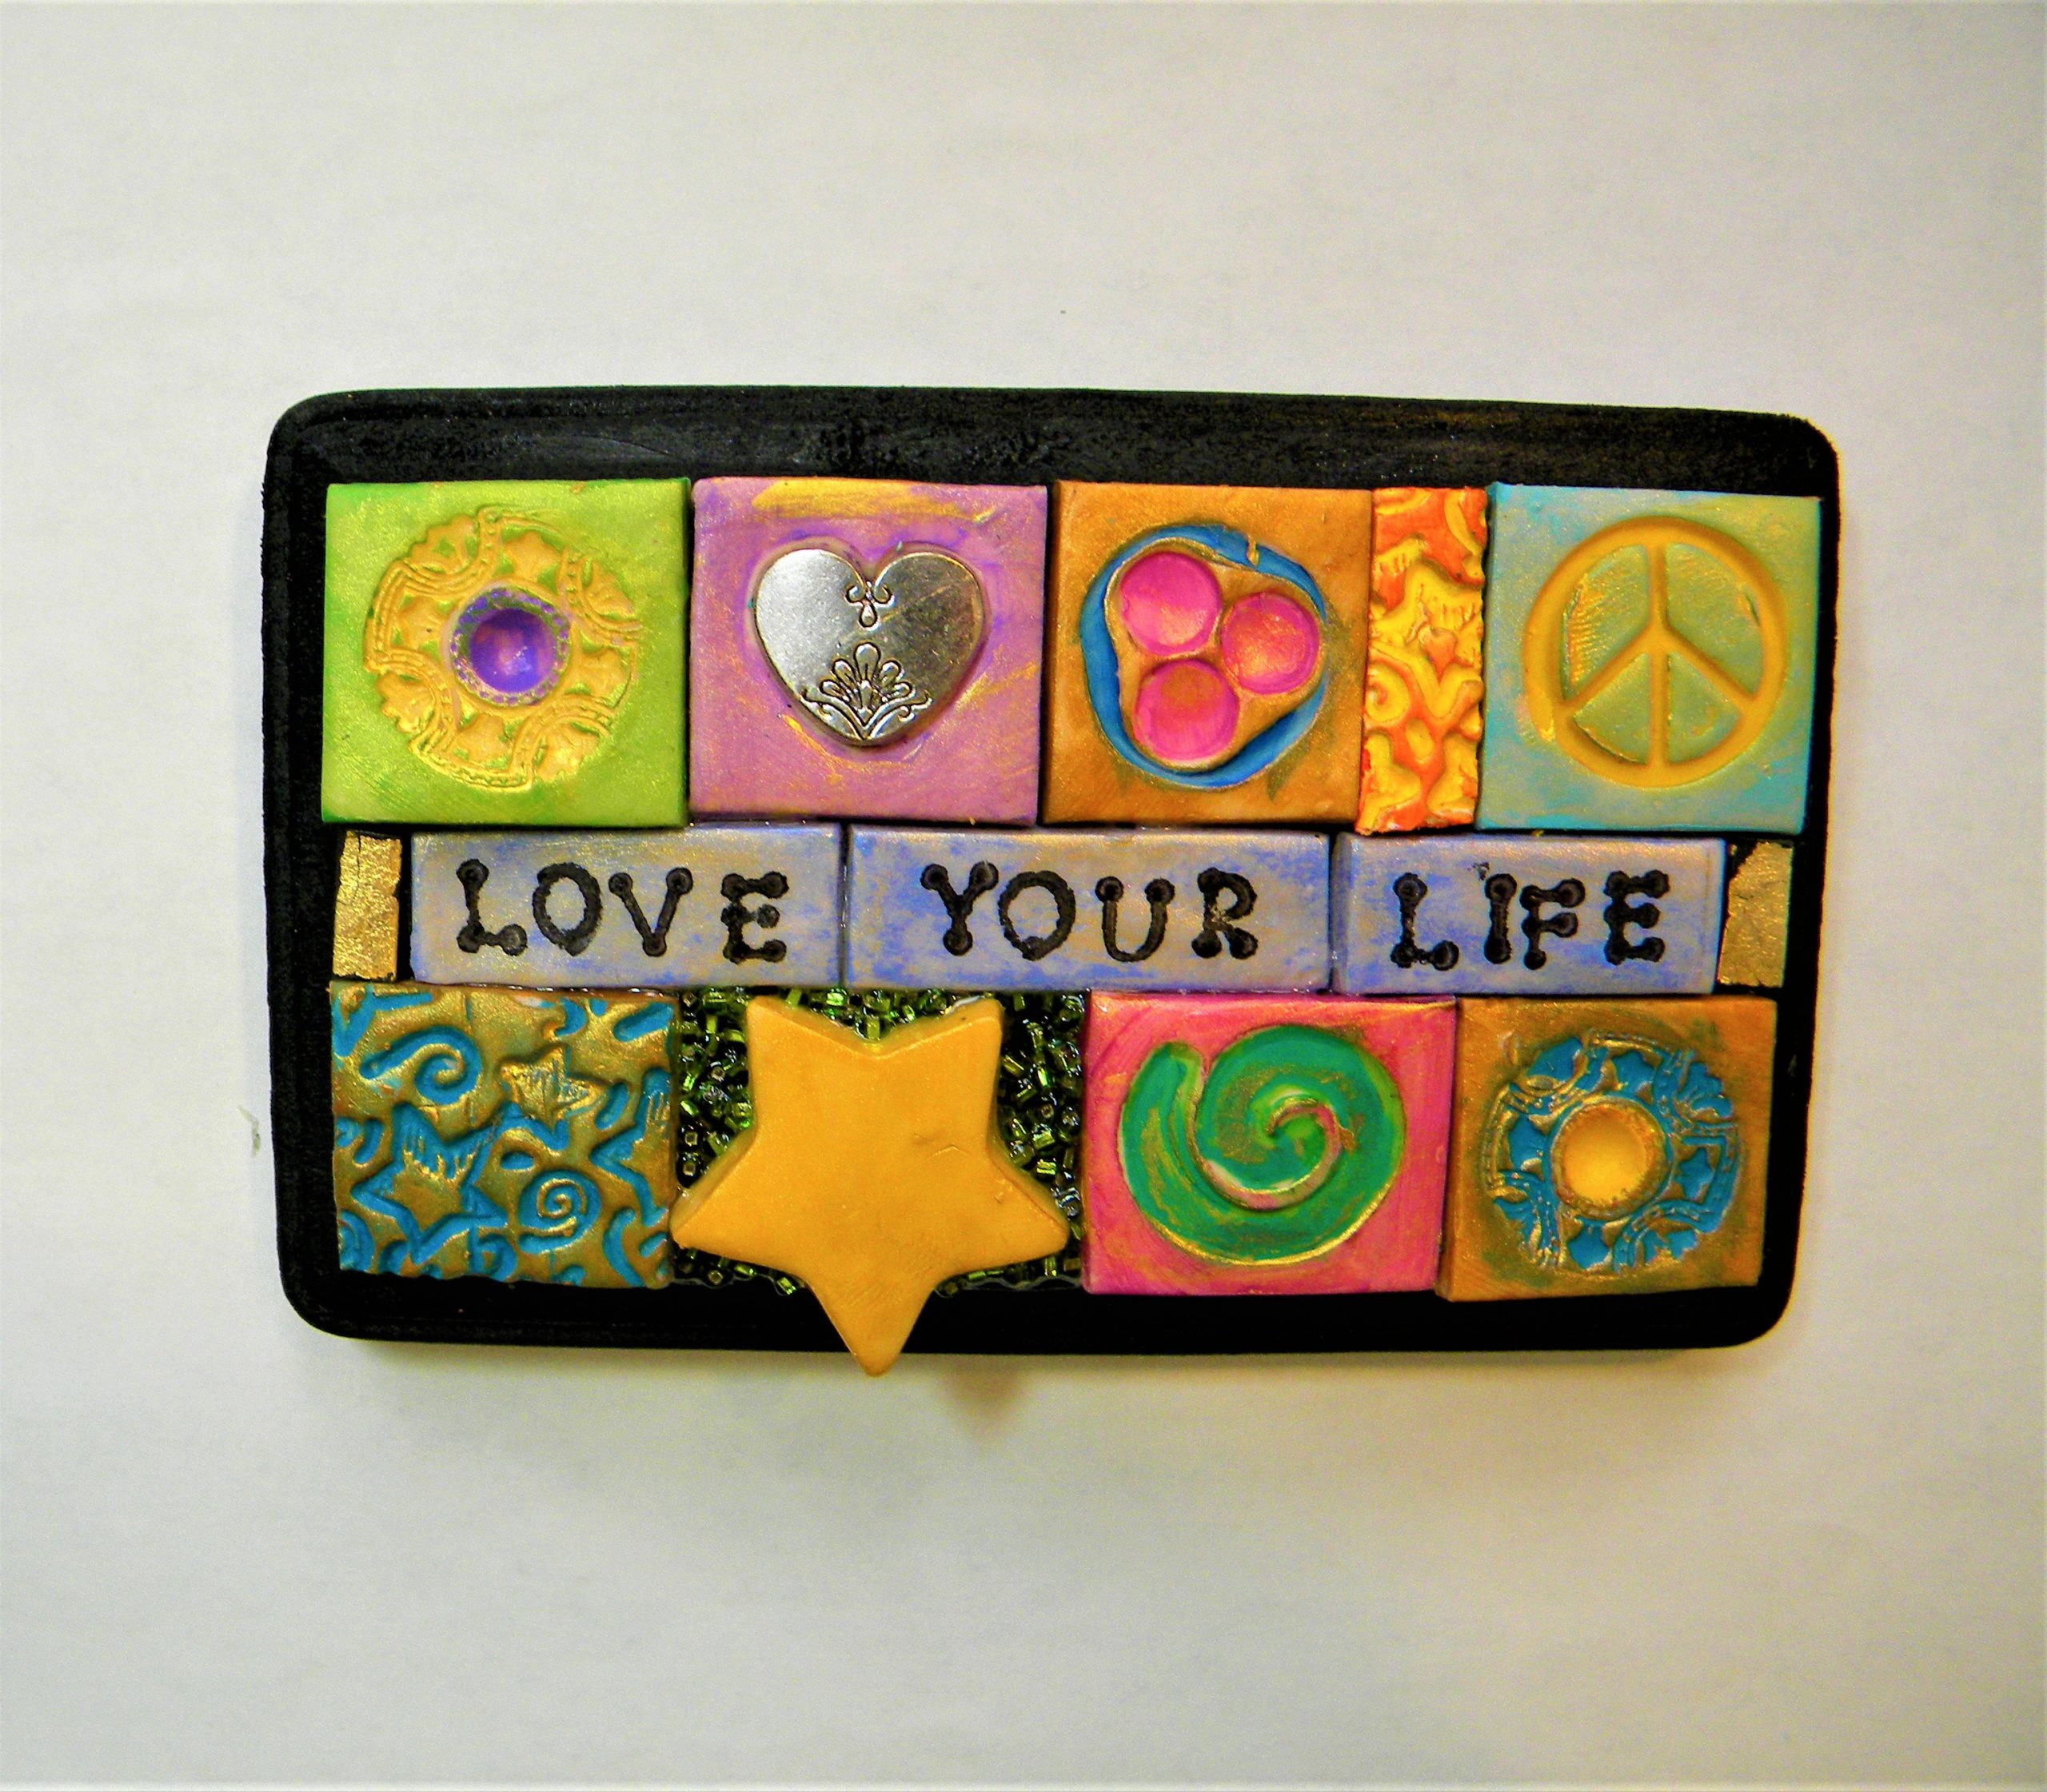
I’ve been busy in my studio this month, and sales are picking up since January. I’ve sold a lot of different items, and when I sell one, I usually make a replacement. Here are some samples, and these only include my etsy items, not my art journal pages.

The whimsy girl in the striped jersey is a popular items. I’ve made several. Maybe it’s the stripes?? The Love You More plaque was a custom order, the largest plaque I’ve made with my painted tiles, 10×10″.

I also really enjoyed making the “twin flame” driftwood and clay wand. Something new for me even though I sneaked in two clay faces!

Okay, what are you working on? I’d love to see some paper dolls with clay faces from you. You can send pictures to:

maria@mariagreene.org.

I love seeing other people’s art!

I wish you loads of inspiration in March, and productive happiness. ‘Til the next time, lot’s of love.

Maria

If you must have one of my latest items, please check out my etsy shop, Earth and Faery.

Manila folder art journal tutorial

Manila folders come in stacks of ten or more, but what to do when you have some old folders that can’t be used any longer? Make an art journal! I had an old folder that had been used many times. I tried to remove the written labels, but the folder had served its purpose by then.

I made a short video on how to turn the folder into an art journal. You can use whatever papers you have. I have a huge stack so it seems I used every conceivable style I could dig up. It turned out very busy but who is judging?

Manila folder art journal

As you can see, I made some mistakes, but what I learned will benefit my next journal! The first one is always trial and error, right?

Seeing as the CV virus still has a hold, I spend a lot of time in my studio. There’s nothing else I’d rather do during this time. Here’s a gallery of items I’ve made in July.

How I feel about 2020, titled The Rollercoaster

I made more items, but these are enough for now. 🙂 I also got back to doing more art journaling. If you missed my last blog post with the tutorial on how to make a manila envelope journal cover, HERE it is.

One of my favorite mixed media artist is Lyn Belisle. She is currently offering a FREE book tutorial, how to make a Lotus book. It is really cool. Check it out HERE. You can’t go wrong with free, and she’s an excellent instructor.

This is it for this blog post. I hope you try the manila folder journal. Send me pictures if you do: maria@mariagreene.org

Lots of love,

Maria

P.S. Most of my art ends up in my etsy shop, Earth and Faery. Before we know it, Christmas will be here.

Christmas in July

Christmas is still a few months away, but people seem to enjoy getting a head start on gift shopping, and this year might prove the same–or not. We live in strange times.

I was invited to join the Pfatt Marketplace (Prominent Folk Artist’s Trinkets and Treasures), and I just submitted my Christmas items for the July launch which happens on July 10. New items are for sale every month on the 10th. I enjoy trying out a new venue. I made some angels and a Christmas village. I will use my Etsy name, Earth and Faery there. You can check out the site HERE.

I have been busy this June and it feels good to be productive. I’ve had my eye on a set of metal fondant letter cutters at Michael’s and I finally took the plunge and bought them. I had no idea how they would work out on for my polymer clay, but I wanted to try. They come in a round tin and can be found in the baking department.

Fondant letter cutters
letter cutters

In the summer, the polymer clay gets sticky in the heat even though I keep it in the fridge. Once you roll it out it loses its chill. It was hard to get the clay out of the letters. I used the round end of a small brush to poke it through. It dented the clay, and some letters I could turn over, but the others I had to smooth out the best I could. I wasn’t too thrilled about the rounded edges of the letters for some reason.

It’s something you can try with your art.

Christmas in July peace sign.
Christmas in July

They pretty much took over the plaque, but I was pleased in general. I made specialty tiles with red, green, and gold paint, just to make it Christmas-y.

It has been 100 degrees here so it’s hard to get into any kind of Christmas feeling…

The last mixed media village I made sold out, but I have four more houses available now.

Besides making my mosaics, I’ve moved deeper into the rabbit hole of clay figures. I can tell you it’s so much fun! You should try making some. It’s not that hard.

The faces are the hardest part, but the more you practice, the better they get. I also add a little bird to every figure I make. I just like birds a lot. All of my figures are for sale. You can check out my inventory HERE. I add more things every day.

Now go and make some art! 🙂

Lots of love,

Maria

Whimsical art house tutorial

Whimsical art and “funky boho colorful display” you can call these houses that are so much fun to make!

I wrote a picture tutorial on how to make them. It’s fun and easy! Here’s one:

Whimsical art house tutorial.
whimsical art house

You can buy the wooden house shape at Michael’s or online. They are cheap and easy to alter. Since I was going to cover everything with paper, I Mod-Podged the surfaces to seal them before I attached paper scraps.

Paper scraps attached, art house tutorial.
Paper scraps attached

Here the papers are dry. I covered the edges as well. You can glue the paper down and then cut the excess along the edges with sharp scissors.

All surfaces covered, art house tutorial.
All surfaces covered.

Below, I wiped acrylic paints over the surfaces, one pink one lavender.

I painted the door shapes, and in the image after that you can see the windows added. I used charcoal to outline the shapes in a primitive style.

Windows and doors, art house tutorial.
Windows and doors added with paint and charcoal.

To seal the charcoal, which can be messy if not sealed, I used a spray varnish. It’s best to spray them outside because the fumes are wicked. I let the houses dry outside as well.

Drilled holes, art house tutorial
Drilled holes for birds

I then drilled the holes for the tiny birds I’d made as an embellishment on the roof. Whimsical touch… 🙂

Whimsical birds for the house roofs, tutorial.
Whimsical birds for the house roofs

I painted the houses the same colors on the back as on the front. The edges got a contrasting color.

Jazzed up the front with banners, art house tutorial.
Jazzed up the front with banners

When I make polymer clay tiles for my mosaics, I usually make some extra cut-outs. I use cookie cutters for these shapes, bake them, and paint them. They make cute banners! I also glued some flowers at the bottom on the pink house. I varnished the back and the edges with gloss varnish. The shine brings out the colors nicely.

Finished houses, art tutorial
Finished houses!
Birds glued to the edges, art house tutorial
Birds on the edges

I used super glue to attach the steel wire to the birds and the houses. They will stay in for a long time! 🙂

Below is another example of a green house.

Finished art house, art tutorial
Finished art house

Now I have to make more stars and pennants. I used them all in these projects.

Wood shapes are great because you can make so much with them. If you read my blog you know I like to combine wood and polymer clay. One of my most cherished sellers is the angel with a message.

Angel with a message

What gets your imagination going?

I get my inspiration from actually making stuff. One thing leads to another, new ideas pop up as I’m in the middle of the process. Most of them are good ideas that can be realized without too much pain. I also get inspiration from other artists on Instagram and Pinterest.

Don’t let fear stop you from experimenting. The figure below is my latest experimentation. I have a hard time sculpting faces, but I decided to use a face mold that I proceeded to alter. However, I keep working on my skills; it’s the only way to master a new technique.

Bettina, the circus acrobat on her day off

I wish you lots of inspiration! Try something new today. 🙂

Lots of love,

Maria

What is holding you back?

What is holding you back? Fear? Excuses? They are all one and the same, and it sums up to fear. When it comes to creating any kind of art, fear is a constant companion, usually in the shape of resistance.

I wrote a post about resistance and it’s worth a read if you’re not getting anywhere with your art. Lately, I’ve heard a lot of excuses why people don’t create even though they want to at heart.

I suffer from resistance a lot, especially when I’m trying some new art supply or style. Recently, I picked up some tubs of Apoxie Sculpt. (I wrote about it in my last post.) I debated then to put it aside, but I decided to try some more projects with that type of clay. It’s still frustrating to work with, but I have persevered.

Since the clay is pretty expensive, I try to use as many shapes underneath as I can and then cover with a thin layer of clay. It makes it less heavy as well. I bought some styrofoam balls, and to form the body of the birds below, I used one large for the body and one small for the head. I used popsicle sticks, broken in half, to form tails and necks. Here are the end results, a couple of circus birds on “wheels.”

They were fun to make. I used blocks of wood that I covered with papers and wooden wheels. The legs are 19 gauge steel wire. It was a challenge to make these birds, but why not stretch oneself, despite the resistance?

If fear is holding you back…

The only way to overcome it is to do the thing you’re afraid of. Otherwise, it will haunt you. I know this well from previous experiences.

I have found I like making art assemblages. I had to use a drill for simple holes, and it felt awkward and new, but maybe it’s the beginning of new fields of experience.

Don’t let fear hold you back if you want to renew your life, your experiences. It’s not just artistic expression. It’s so easy to stay in the comfort zone, but life gets boring in the long run.

To mix things up, even more, I prepped a bunch of canvases for later use. I love to add mixed media as I go, and I even finished one project when I saw a robust lady emerge from the layers.

A mixed media art project with layers of paper and paint.
Is fear holding you back?

I also made some of my usual objects for sale in my Etsy shop these last few days.

I love the little mosaic Virgin Mary shrines, and now I have used my last Altoids tin!

It’s time to be brave! Make the time to be an explorer, kick the excuses to the curb. Every day is another opportunity for fun creativity.

Lots of love and wishes for happy creativity!

Maria