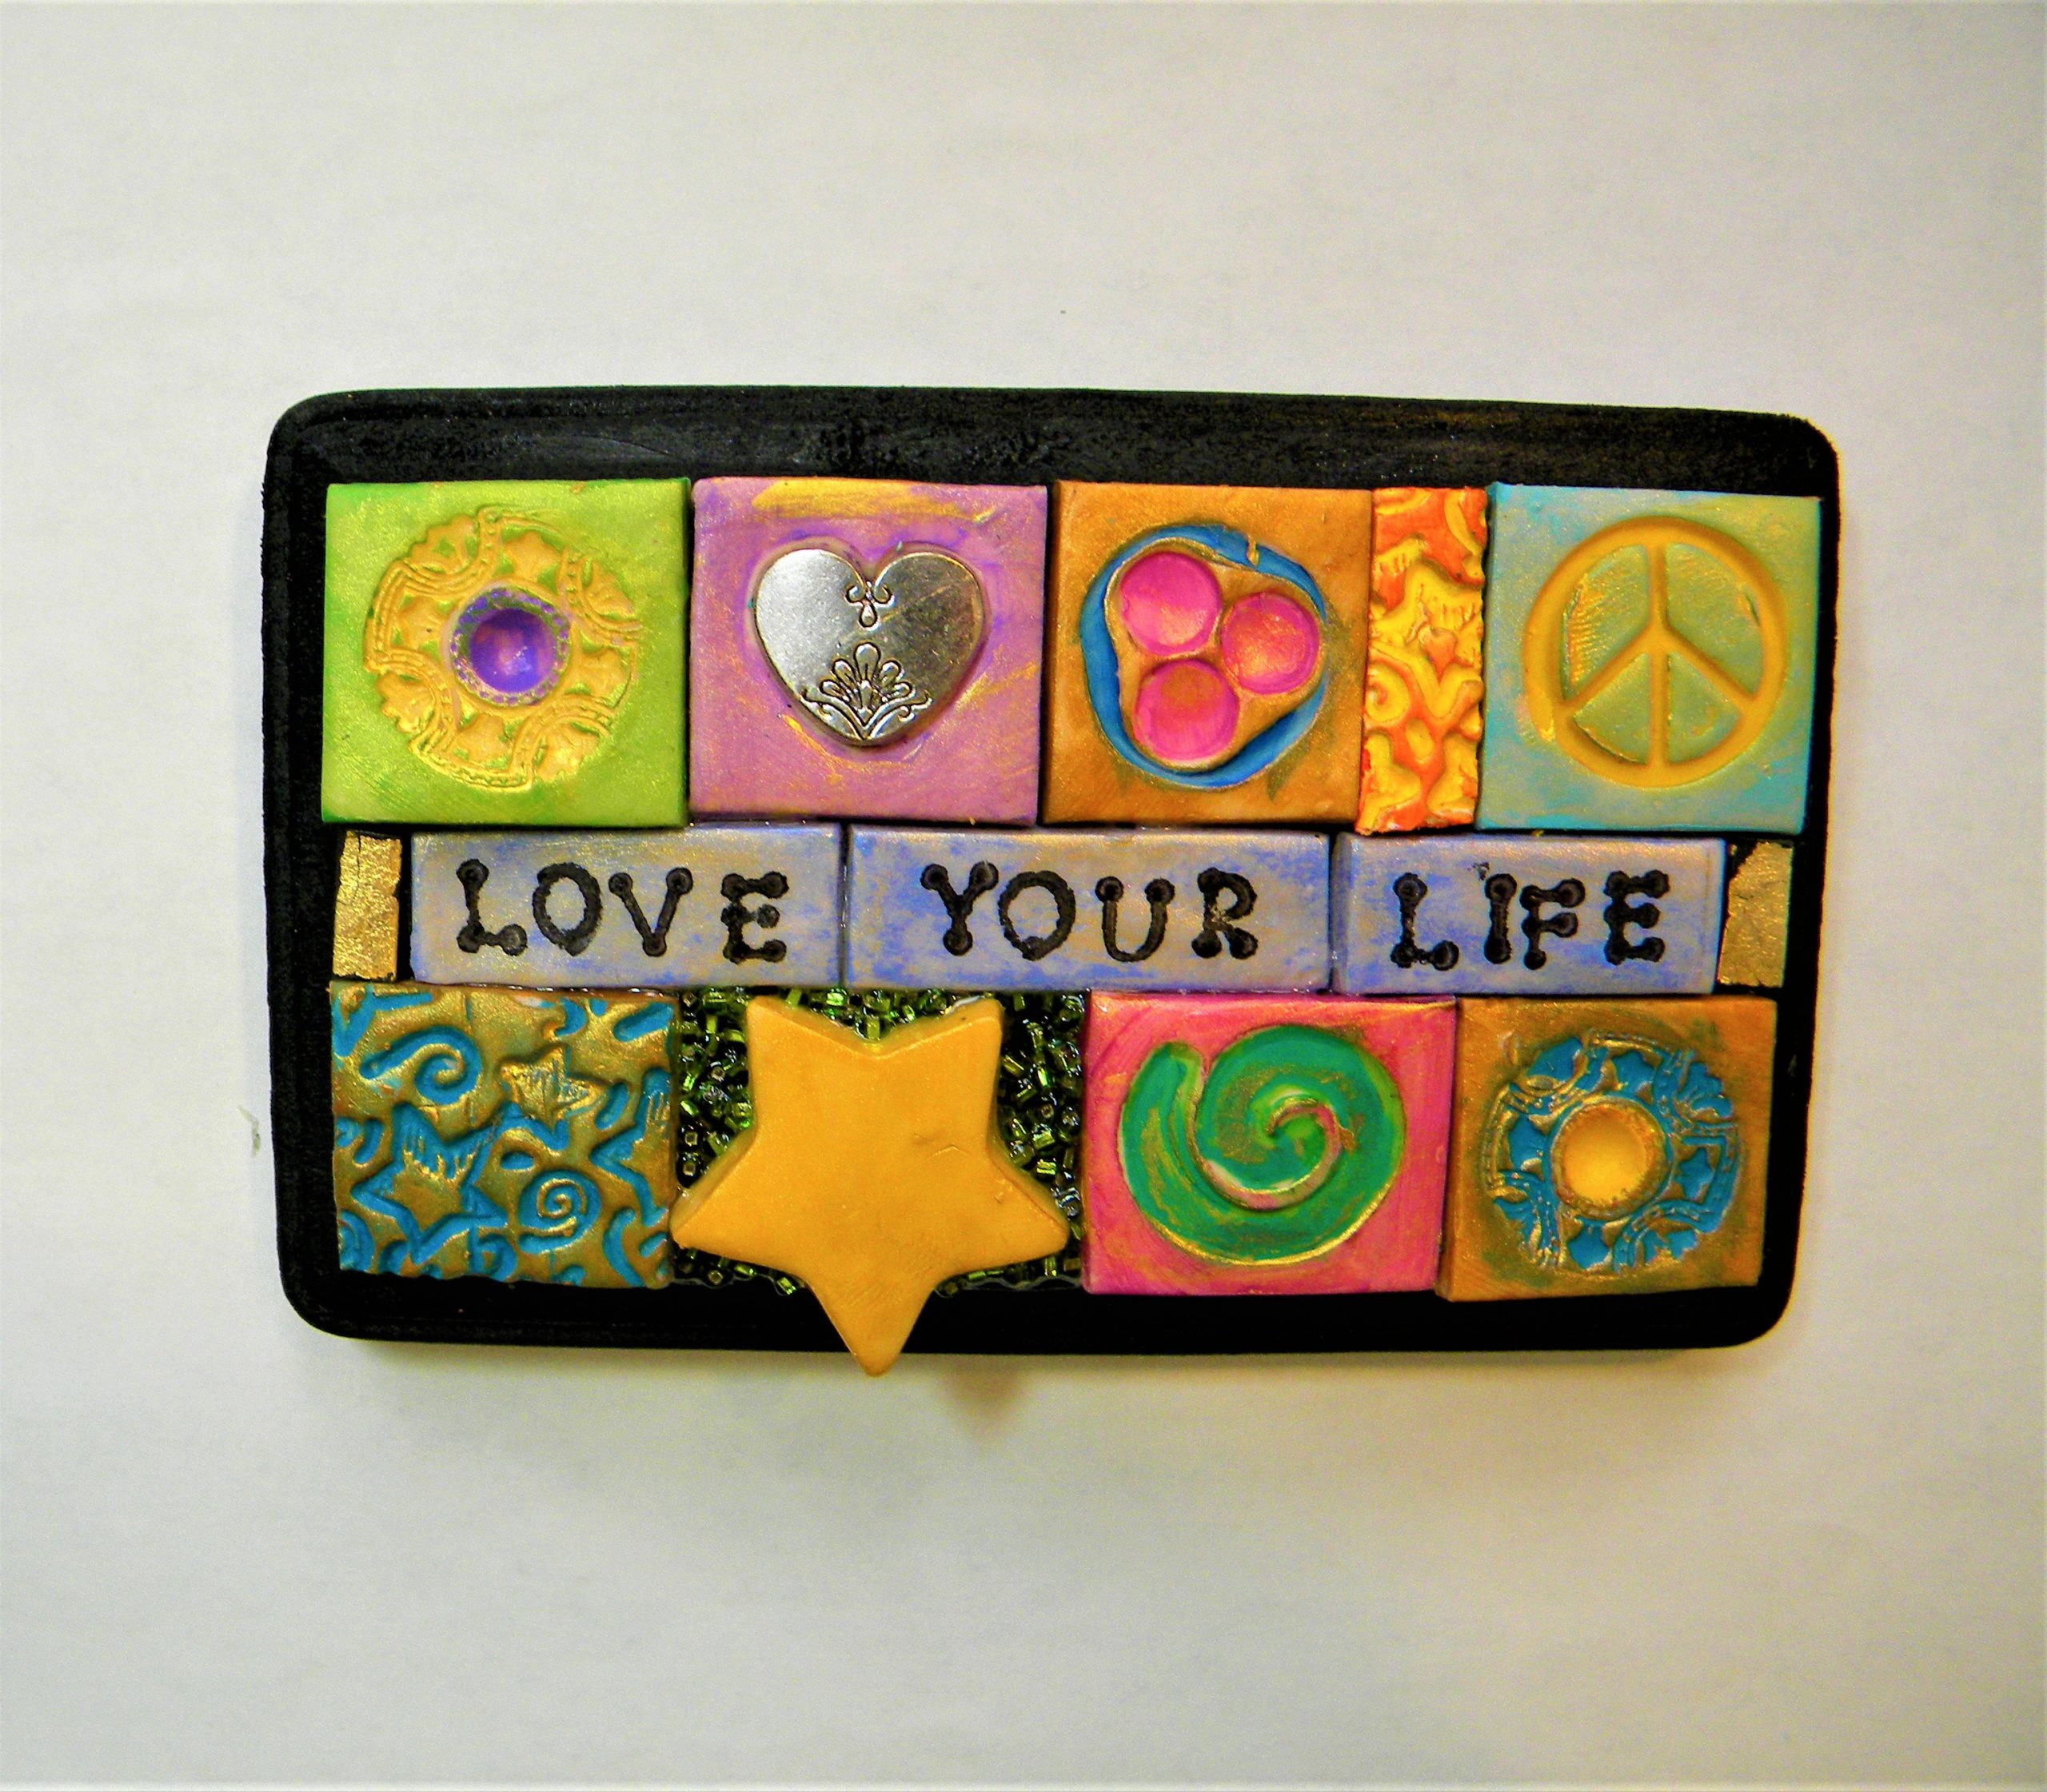
How to are two words that I live by. I love to learn new art techniques, and I love to share my knowledge. I published a new YouTube video this morning on how to make a rustic clay plaque with cute embellishments. See picture below. You can check out the video HERE.
May was a very productive month for me, and I spent most days in the studio. It has gotten midsummer hot already in Florida so I like to stay in the air-conditioned house.
Here are a few examples of my art in May:
There are many more, but I don’t want to upload all of them since some look mostly the same.
Do you struggle with creator’s block? I find that picking up a new type of art expression or taking art classes helps to kickstart your inspiration. Sometimes I get too many ideas and it’s hard to choose what to pursue next. I had difficulties with motivation earlier this spring, but after spending hours on Pinterest and re-taking some old online classes, I was ready to go again. Sometimes you have to regenerate by not making art, and that’s ok. We think it’s the ultimate virtue (by society’s standards) to always be super productive.
Trust in your ability to rest and renew your creative well. All goes in cycles! I say: enjoy every facet of your life!! 🙂
Many of the items above are available in my etsy shop: EarthandFaery
I also took up a challenging crocheting project, a blanket, the Fruit Garden design by Janie Crow. You can find the book on Amazon. Here’s a picture from the book.
So far I’m enjoying the challenge, but it’s not easy. I know I will finish it, but it’s going to take a long time. Taking up a new hobby helps with art inspiration as well.
Have a wonderful June! I wish you lots of creative energy. 🙂
The pros and cons become quite apparent as you work with the various clay brands. I’ll put down some insights here since I work a lot with the medium.
I started out with polymer clay, Sculpey III, which I still use a lot. There’s also Super Sculpey, which is a lot stronger than the Sculpey III. It usually comes in 1 lb blocks; I use it for figures and more complicated work.
The plus side of Sculpey is that it stays soft until you bake it, and you can work on it all day or even leave it for another day without worrying that it will dry out. The downside is the need for baking. Not that it’s a big con, but if you’re making sculptures (like I do,) you have to think of the inner armature. You can’t use anything that will melt at 275 degrees. If you do, the clay is likely to crack big time. (Been there, done that.) Also, if you live in a hot climate, the clay gets so soft as you work that you have to keep it in the fridge. When I need a chunk I have to run to the refrigerator– back and forth.
I have also made things out of air-dry clay, but the con is that it breaks pretty easily. I’ve made some spirit doll faces and bowls with it, but no sculptures. I tried the Plus brand from Joann’s, and it’s ok to work with but dries and cracks easily. I cover the item as it dries with a damp paper towel and that seems to help. I’ve also tried DAS, which is similar to Plus, but a step up in quality.
Recently, I took a clay sculpture class with Kathy Lewis, and she uses Jovi clay. I hadn’t even heard of it, but I ordered a block from Amazon. It smells like wet plastic, and it’s smooth to work with, but it tends to crack too, but not as bad as the other air dry clays. I guess practice makes perfect, but I don’t like repairing the figures. It makes me doubt that they are sturdy enough for sale.
I mostly work with Apoxie Sculpt, a super strong epoxy clay. Pros: it’s pretty easy to work with, but it takes practice. I have gone through several 2lb containers, and I’m ordering more! It smoothes easily to make a hard surface. It gives you confidence that the item won’t break easily. You can drill and sand it, and it takes paint well.
Cons: It’s expensive. You have to mix the two-part epoxy clay really well, and it takes a toll on your hands. You only have a couple of hours of work time before it hardens, and you can’t save leftover clay. I make small items with leftovers to add to other projects. I have used Apoxie Sculpt to fix items made with other clays.
Here’s an example of a bunny I rescued. I started out with Jovi clay, and as it dried, the arms fell off and some of the other details. I added epoxy clay arms, fixed the cracks, and enforced the delicate area between the head and ears. Jovi dries white, and the epoxy clay is gray as you can see in the picture below.
I also had a bunch of dry eyeballs made with epoxy clay to use (to prevent any flattening if working with air dry clay.)
Below you can see the finished bunny, all painted and varnished. 🙂 It’s available for purchase in my etsy shop, Earth and Faery.
Here’s a link to Apoxie Sculpt on Amazon. (No affiliate.) You can also order it from the manufacturer: Aves Studio. It’s also available on Dick Blick. It also comes in smaller containers than the 2 lb tubs.
Conclusion: Sculpey is great for smaller items and is great for working details. I always use it for my mosaic tiles. I prefer epoxy clay to air-dry clay due to the cracking and easy breakage, but the preference is of course personal. I’d love to hear what your clay experience is like. 🙂
I have two classes using polymer clay: a whimsy girl and a mosaic tile box. Check them out.
Doodle art mania has been happening here in the studio lately. I took some watercolor paper and cut it down into postcard rectangles. Then I watered down the surface and added acrylic paints and inks to get some background to doodle on.
I made a YouTube video of the process. Each postcard is unique, and I doodled where I saw movement in the background paint. You can find the video HERE.
The whole process is straightforward, and all you have to do is add your own doodling style to the background. I used permanent markers for the doodle: Sakura Micron03 black, and Faber Castell Pitt artist pen brushes. I also used Posca pens and Elmer’s Paint Pens. At the end, I sprayed the surface with acrylic varnish.
Doodle art mania
I’ve also been making Santos cage dolls, but I have to make those in stages since the epoxy clay takes 24 hours to dry. It’s not easy to work with, but the clay is so strong when dry that I like to use it for larger projects. Normally, I use polymer clay, which you can use for this, but the armature has to be able to stand the oven temperature.
In my last blog post, I wrote about the process of making a cage doll. I finished that project, so here’s a picture:
It turned out okay in the end. 🙂
I look back on the month of March and realize I made a lot of items even though my creativity seemed so slow. I made a truly funky chicken sculpture and some cute cat sculptures.
funky catsFunky chicken
At Michael’s, I found some rustic-looking wood panels that were painted white. I figured they would look cute with a metal hanger and my handmade clay beads. I painted a couple of flower bouquets, and the hangers looked cuter than the hemp string Michael’s offered as a hanging mechanism. What do you think?
The first one sold right away, and I’m grateful for that. I have many repeat customers in my etsy shop, and I can’t be anything but grateful!
Despite my resistance, I make the choice to paint or make something in my studio every day. I used to get excited when I saw clean, drying paint brushes by my sink–oh, the possibilities–but these days, I’m happy if something turns out well.
New procedures are always scary, but think of the knowledge gained from venturing onto unknown paths! 🙂 Creativity is an ongoing lifetime exploration.
When all else fails, doodle something…
Doodle art mania
Let’s make more art stuff in April. That’s my intention. Maybe I’ll try something new. I bought the book Plaster Studio by Stephanie Lee and Judy Wise. I’m going to try my hand at making a bowl with plaster strips. Maybe I’ll have a picture for my next blog post.
I have some perennial polymer clay classes you can check out HERE.
Paper clay is so much fun to work with. I don’t know the difference between paper clay and air dry clay, but they are both easy to work with. I like to make little bowls and paint them. It’s actually relaxing and satisfying to paint funky patterns without pre-planning.
I use Plus paper clay:
paper clay bowl
I roll an amount that I think will be enough for a small bowl. I roll it with a baking pin that I usually use for my polymer clay. I try to get the thickness even by eyeing the clay since I don’t have clay “bars” that help to make an even thickness. But handmade doesn’t have to be perfect!
I bend the clay over an object that will make the flat bottom I want. In my case, I used the bottom of an empty Mod Podge bottle. The bowl dries about 24 hours depending on how hot or cold it is.
paper clay bowls, painted
Above are some examples of recent bowls. I made a YouTube video of my latest bowl, and you can watch it HERE.
I have also been making “heart guardians” from epoxy clay (Apoxie Sculpt) attached to rocks, shells, or geodes. They have been popular in my etsy shop. Here are some I made.
It has been fun to experiment with clay lately. I haven’t painted as much, but everything goes in cycles. I like to go with the flow of the moment. It’s challenging to make something different. I feel a lot of resistance, but when I press through that, I really enjoy the process.
I have some new items in my etsy shop if you’re interested. You can check them out HERE.
Please make your own paper clay bowl. I know you’ll love it! 🙂 You can’t go wrong with the process.
When in a creative slump, it’s easy to panic and think that the well has dried up for good. You feel uninspired, unmotivated, moody, a lack of general energy, and you look at things negatively. The last thing you want to hear is “rise above” or “do it anyway” or “buck up, it’s not the end of the world.”
While some of those expressions are true in many ways, it’s easy to dismiss them and stay in the doldrums.
When in the dumps you can make a conscious choice to change, but it’s not easy.
So basically how you feel is a choice. I can hear arguments coming at me, but let me explain. How do you “rise above”? I personally do it by meditation to feel better, and then everything seems easier, even if it isn’t.
Practice is a great fall-back.
When you’ve been in a slump several times, you know they don’t last, so experience makes it easier to bear.
When I feel a longing to create and do it, no matter what, I feel progress even if everything came out as mud on paper.
I suppose you could call it “do it anyway.” I have written about that before, and it boils down to a habit of going to the studio and make attempts at creating every day, even if it’s only for ten minutes. You feel progress, if not satisfaction.
The thing about experiencing a slump is part of the process of being an artist. It’s as sure as the sun rising in the sky. You feel it especially hard if you’re changing your art expression by trusting that an old style no longer works.
I’ve looked at my progression of styles over the years and it’s mind-boggling how many times things have changed! I get bored easily.
I especially dislike the “buck up” version of friendly advice. Let me just wallow in my misery, okay? 🙂 I guess I’d rather not admit that “bucking up” is a valid choice…
Anyway, IF YOU JUST SHOW UP, things will turn around and you’ll think you wasted a bunch of days on misery.
That said, I’ve changed a lot recently, and it shows up in my art. However, a friend of mine said, “I can always see YOU in all of your art styles.” That made me feel good as I have been worrying about changing from something that worked in the past to something new.
My clay art is much easier than painting. Check out my latest funky chicken, Elmer:
When in a slump, make a clay chicken…
And here’s Selma:
Selma, the sassy chicken
I made some mixed media art /paintings, and had a huge struggle to get past the super messy backgrounds. It was as if I threw everything single technique at them before I could see any steps forward. It was a messy slump indeed, but I gritted my teeth and moved one inch forward every day. I hated the panels!
I don’t have any process pictures, but these happy summer motifs came out of all that angst and disgust. To top it all, the art looked happy, the colors bright, full of joy. Go figure.
They are different than my previous painting expressions, but I felt good about the new direction. Who doesn’t like a happy summer day?
I also tried some wood panels, and I LOVE THEM! Painting on a hard surface is easier than canvas somehow. You have to experience it to know.
They are a mixture of messy paint, decorative papers, and in one case, scraps of lace.
The painting below ended up with loads of paper strips for hair. It was painstaking but I liked the result.
Air fairy
I have been admiring dioramas on Pinterest, and I made a couple, though I had no idea what I was doing. It was loads of fun! Something for you to try if you get into a creative slump??
The fairy in the second picture was store bought, and I created the landscape around her.
So when all else fails, try a simple collage or a diorama! Painting has been my hardest taskmaster. Crafts are more relaxing and not half as challenging. So, in conclusion, to grow we need to do more of what challenges us…
If you missed my last tutorial on funky paper dolls you can check it out HERE.
Paper dolls and muscle memory, what do they have in common, you might ask. With a cursory glance they don’t, but if you look closer, you’ll see that my paper dolls have clay faces, and I make a lot of clay faces.
Muscle memory comes into the picture when I feel as if I can make and paint the faces in my sleep. That is how art is sometimes.
The more you practice art, the deeper you get with the process, and much of the action comes from using your muscles to repeat the process. You don’t worry about it; you just do it.
MAKING ART FRIGHTENS ME
When people sit down at an art table for the first time, it’s like the first time they sit in the car they’re supposed to drive. It’s intimidating and scary, but somehow you overcome the fear and “let it roll.”
That’s why art classes are a good way to get going with art. A good teacher will take you by the virtual hand and show you what to do, as with any new subject you approach. Think of it like learning a new language. At first, you only know a few words. After a year or so, you can speak haltingly and understand much of what people say in that language.
ART IS DIFFERENT BECAUSE IT’S ALWAYS NEW
Unless you paint the same motif every day, you’ll face the challenge of putting something on the blank page. Many artists paint the same style and motifs over and over, and they learn from that, but how do you explore wider vistas? You can add an element to the well-trod path. If you paint, incorporate some paper collage, or use colors you stay away from normally.
To grow as artists, we have to go down unfamiliar paths, but what we’ve learned along the way, is easy, it comes without struggle, like muscle memory for those who lift weights. You trust that your hands can do the work!
I digress..
Let’s get back to paper dolls. I have had many questions on how to paint clay faces, so I made a video, How to paint clay faces, Part 1.
I realized the faces could be used with so many styles, and how you dress the dolls, is a challenge because there are so many choices. The possibilities are endless. That’s where the exploration begins. But make a clay face first. It’s not that hard!
I’ve been busy in my studio this month, and sales are picking up since January. I’ve sold a lot of different items, and when I sell one, I usually make a replacement. Here are some samples, and these only include my etsy items, not my art journal pages.
The whimsy girl in the striped jersey is a popular items. I’ve made several. Maybe it’s the stripes?? The Love You More plaque was a custom order, the largest plaque I’ve made with my painted tiles, 10×10″.
I also really enjoyed making the “twin flame” driftwood and clay wand. Something new for me even though I sneaked in two clay faces!
Okay, what are you working on? I’d love to see some paper dolls with clay faces from you. You can send pictures to:
To provide the best experiences, we use technologies like cookies to store and/or access device information. Consenting to these technologies will allow us to process data such as browsing behavior or unique IDs on this site. Not consenting or withdrawing consent, may adversely affect certain features and functions.
Functional
Always active
The technical storage or access is strictly necessary for the legitimate purpose of enabling the use of a specific service explicitly requested by the subscriber or user, or for the sole purpose of carrying out the transmission of a communication over an electronic communications network.
Preferences
The technical storage or access is necessary for the legitimate purpose of storing preferences that are not requested by the subscriber or user.
Statistics
The technical storage or access that is used exclusively for statistical purposes.The technical storage or access that is used exclusively for anonymous statistical purposes. Without a subpoena, voluntary compliance on the part of your Internet Service Provider, or additional records from a third party, information stored or retrieved for this purpose alone cannot usually be used to identify you.
Marketing
The technical storage or access is required to create user profiles to send advertising, or to track the user on a website or across several websites for similar marketing purposes.