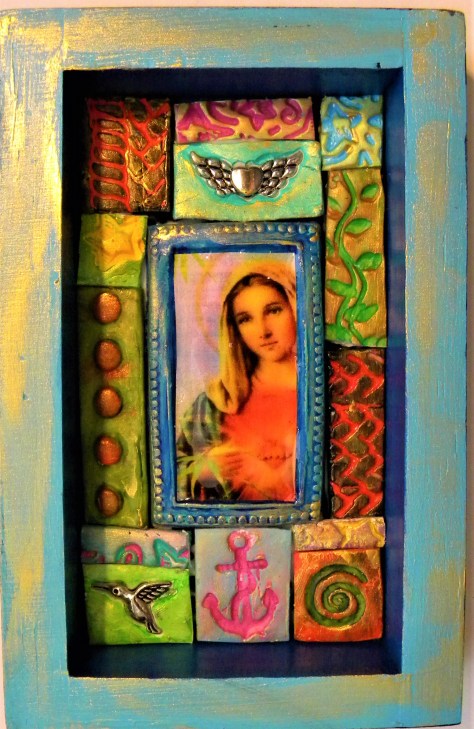
How to are two words that I live by. I love to learn new art techniques, and I love to share my knowledge. I published a new YouTube video this morning on how to make a rustic clay plaque with cute embellishments. See picture below. You can check out the video HERE.

May was a very productive month for me, and I spent most days in the studio. It has gotten midsummer hot already in Florida so I like to stay in the air-conditioned house.
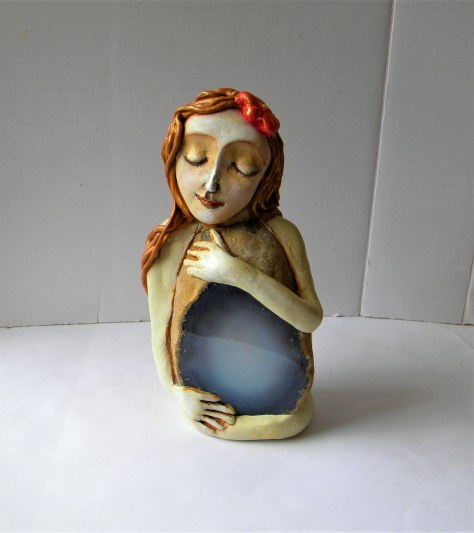
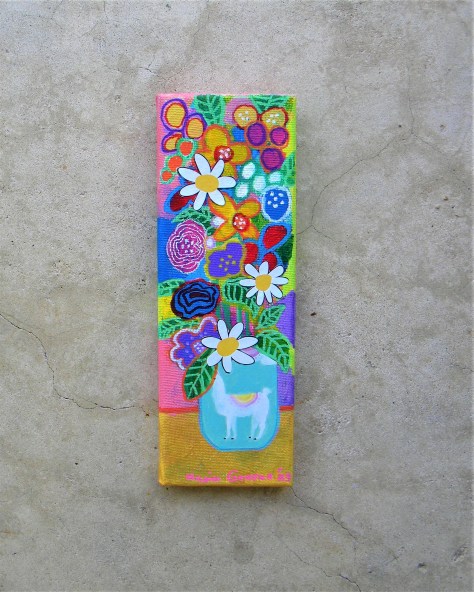
Here are a few examples of my art in May:


There are many more, but I don’t want to upload all of them since some look mostly the same.
Do you struggle with creator’s block? I find that picking up a new type of art expression or taking art classes helps to kickstart your inspiration. Sometimes I get too many ideas and it’s hard to choose what to pursue next. I had difficulties with motivation earlier this spring, but after spending hours on Pinterest and re-taking some old online classes, I was ready to go again. Sometimes you have to regenerate by not making art, and that’s ok. We think it’s the ultimate virtue (by society’s standards) to always be super productive.
Trust in your ability to rest and renew your creative well. All goes in cycles! I say: enjoy every facet of your life!! 🙂
Many of the items above are available in my etsy shop: EarthandFaery
I also took up a challenging crocheting project, a blanket, the Fruit Garden design by Janie Crow. You can find the book on Amazon. Here’s a picture from the book.


So far I’m enjoying the challenge, but it’s not easy. I know I will finish it, but it’s going to take a long time. Taking up a new hobby helps with art inspiration as well.
Have a wonderful June! I wish you lots of creative energy. 🙂
Lots of love,