When in a creative slump, it’s easy to panic and think that the well has dried up for good. You feel uninspired, unmotivated, moody, a lack of general energy, and you look at things negatively. The last thing you want to hear is “rise above” or “do it anyway” or “buck up, it’s not the end of the world.”
While some of those expressions are true in many ways, it’s easy to dismiss them and stay in the doldrums.
When in the dumps you can make a conscious choice to change, but it’s not easy.
So basically how you feel is a choice. I can hear arguments coming at me, but let me explain. How do you “rise above”? I personally do it by meditation to feel better, and then everything seems easier, even if it isn’t.
Practice is a great fall-back.
When you’ve been in a slump several times, you know they don’t last, so experience makes it easier to bear.
When I feel a longing to create and do it, no matter what, I feel progress even if everything came out as mud on paper.
I suppose you could call it “do it anyway.” I have written about that before, and it boils down to a habit of going to the studio and make attempts at creating every day, even if it’s only for ten minutes. You feel progress, if not satisfaction.
The thing about experiencing a slump is part of the process of being an artist. It’s as sure as the sun rising in the sky. You feel it especially hard if you’re changing your art expression by trusting that an old style no longer works.
I’ve looked at my progression of styles over the years and it’s mind-boggling how many times things have changed! I get bored easily.
I especially dislike the “buck up” version of friendly advice. Let me just wallow in my misery, okay? 🙂 I guess I’d rather not admit that “bucking up” is a valid choice…
Anyway, IF YOU JUST SHOW UP, things will turn around and you’ll think you wasted a bunch of days on misery.
That said, I’ve changed a lot recently, and it shows up in my art. However, a friend of mine said, “I can always see YOU in all of your art styles.” That made me feel good as I have been worrying about changing from something that worked in the past to something new.
My clay art is much easier than painting. Check out my latest funky chicken, Elmer:

And here’s Selma:

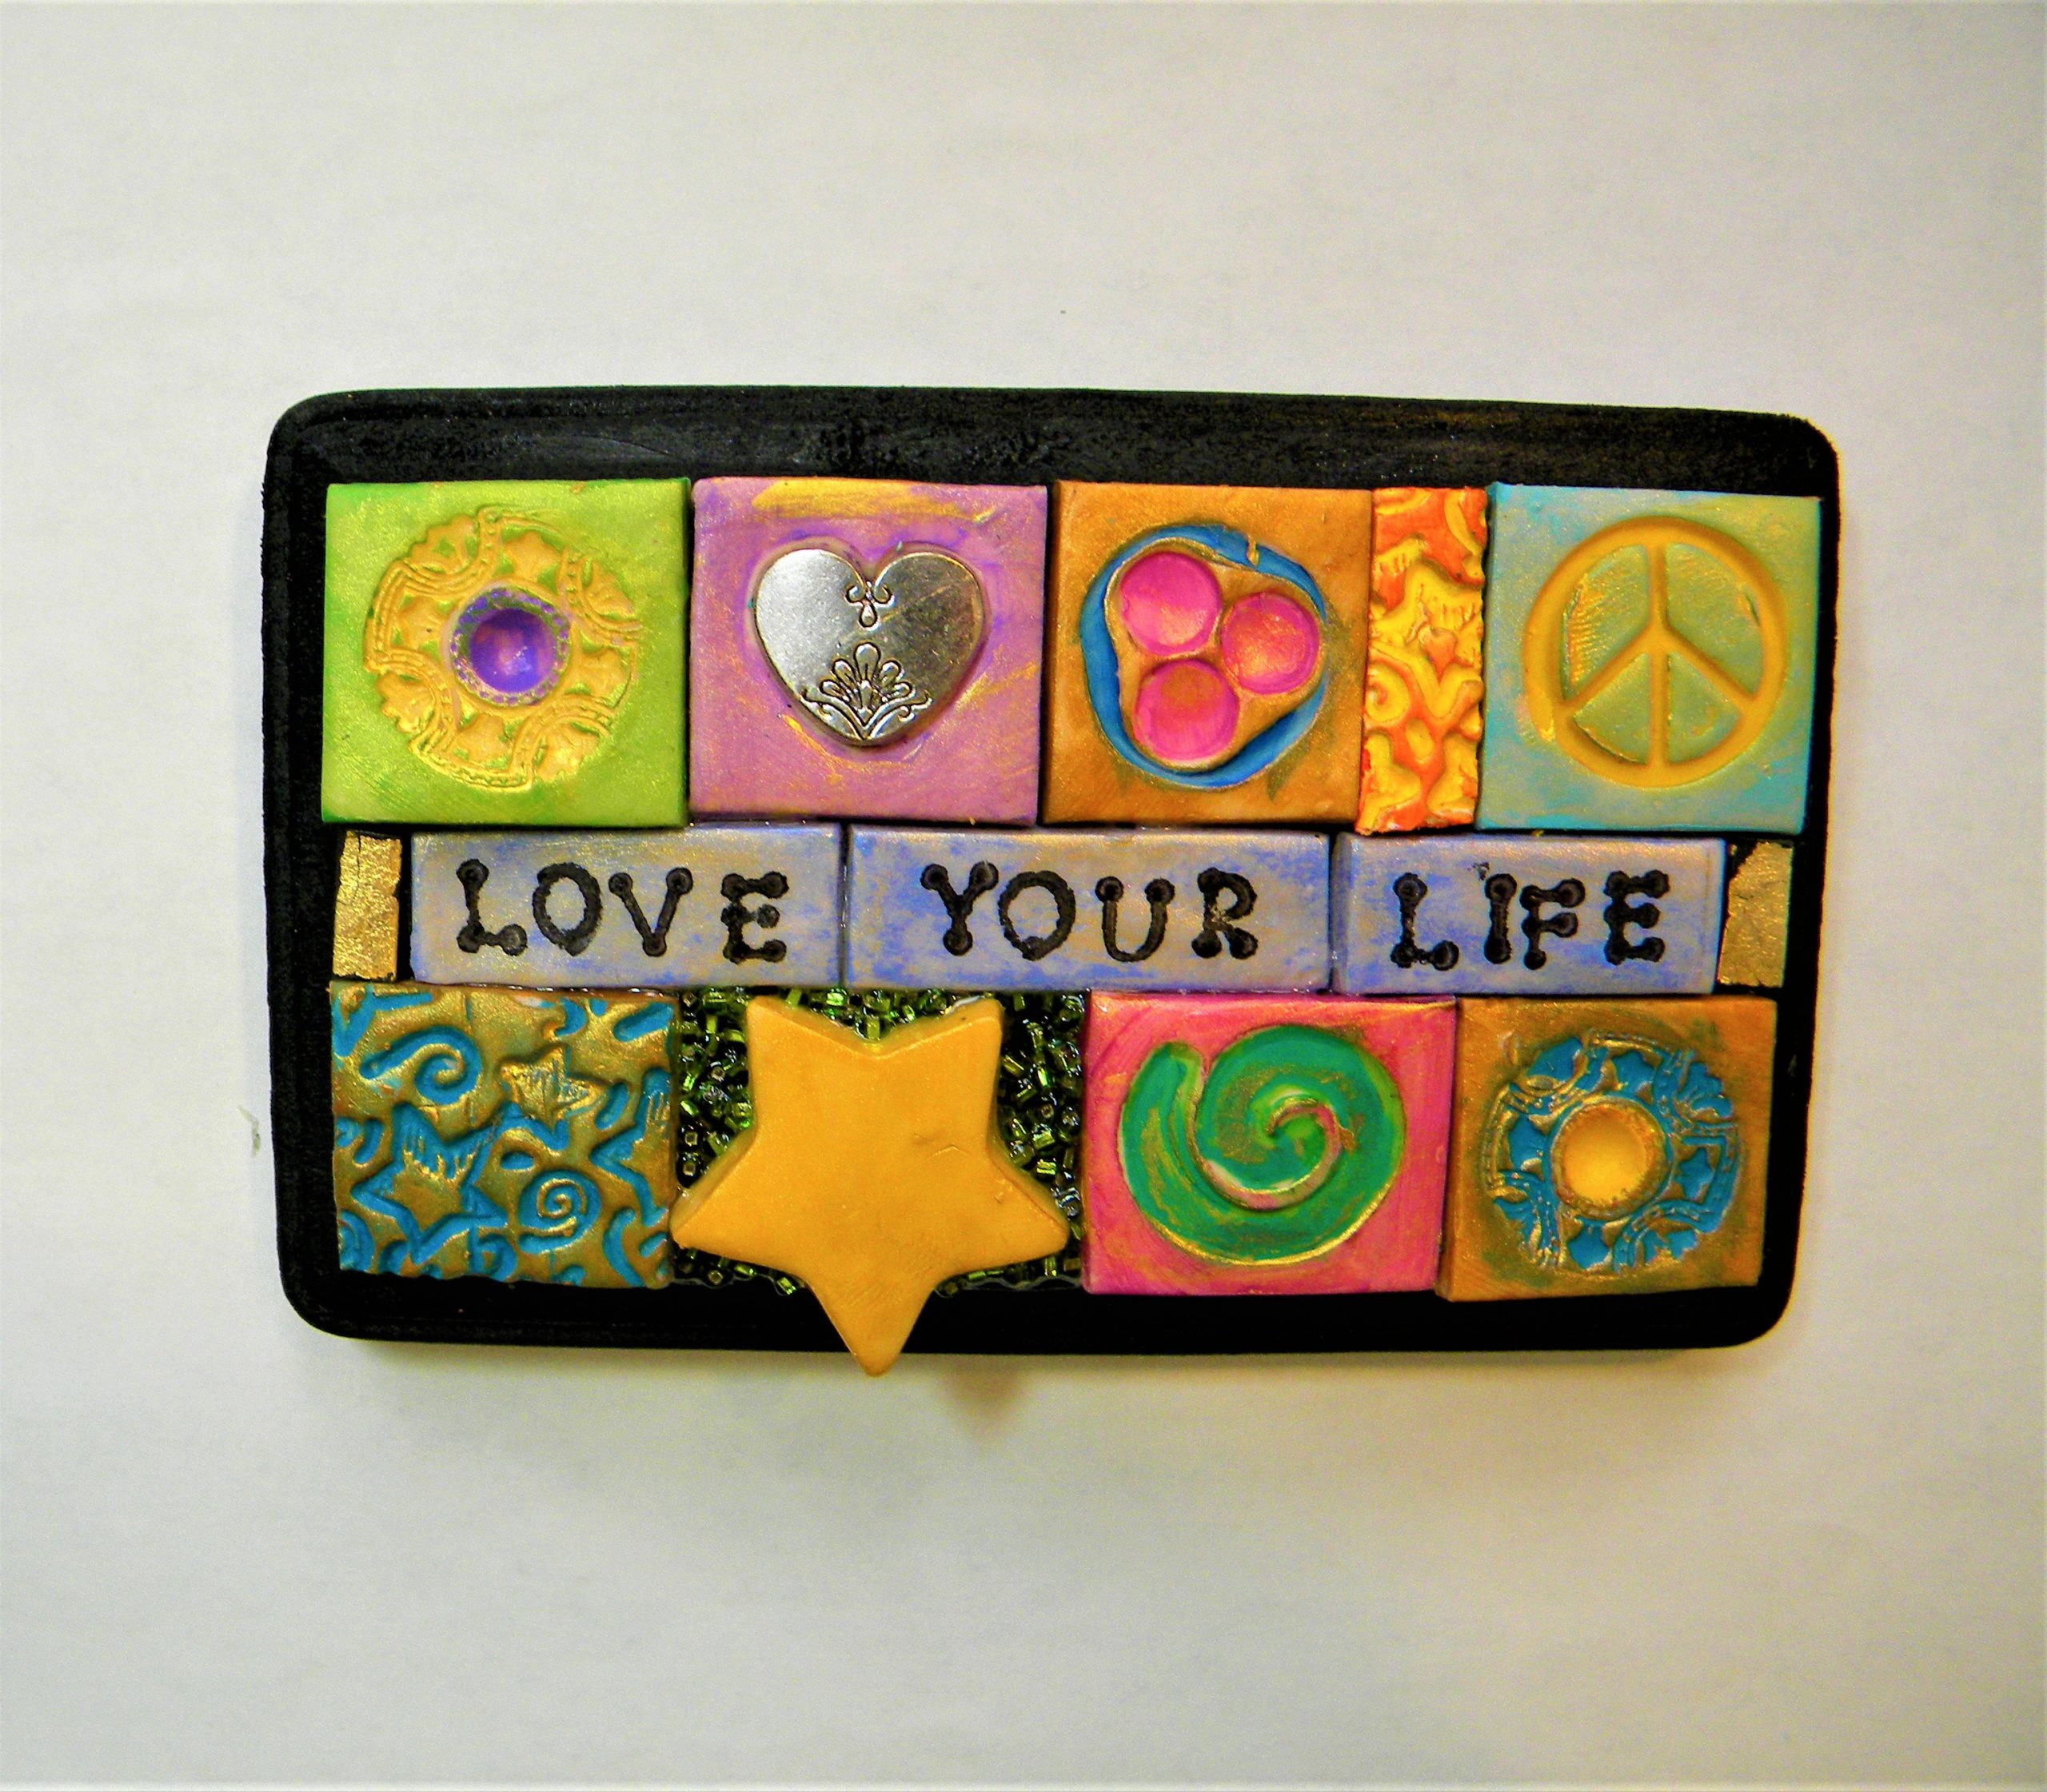
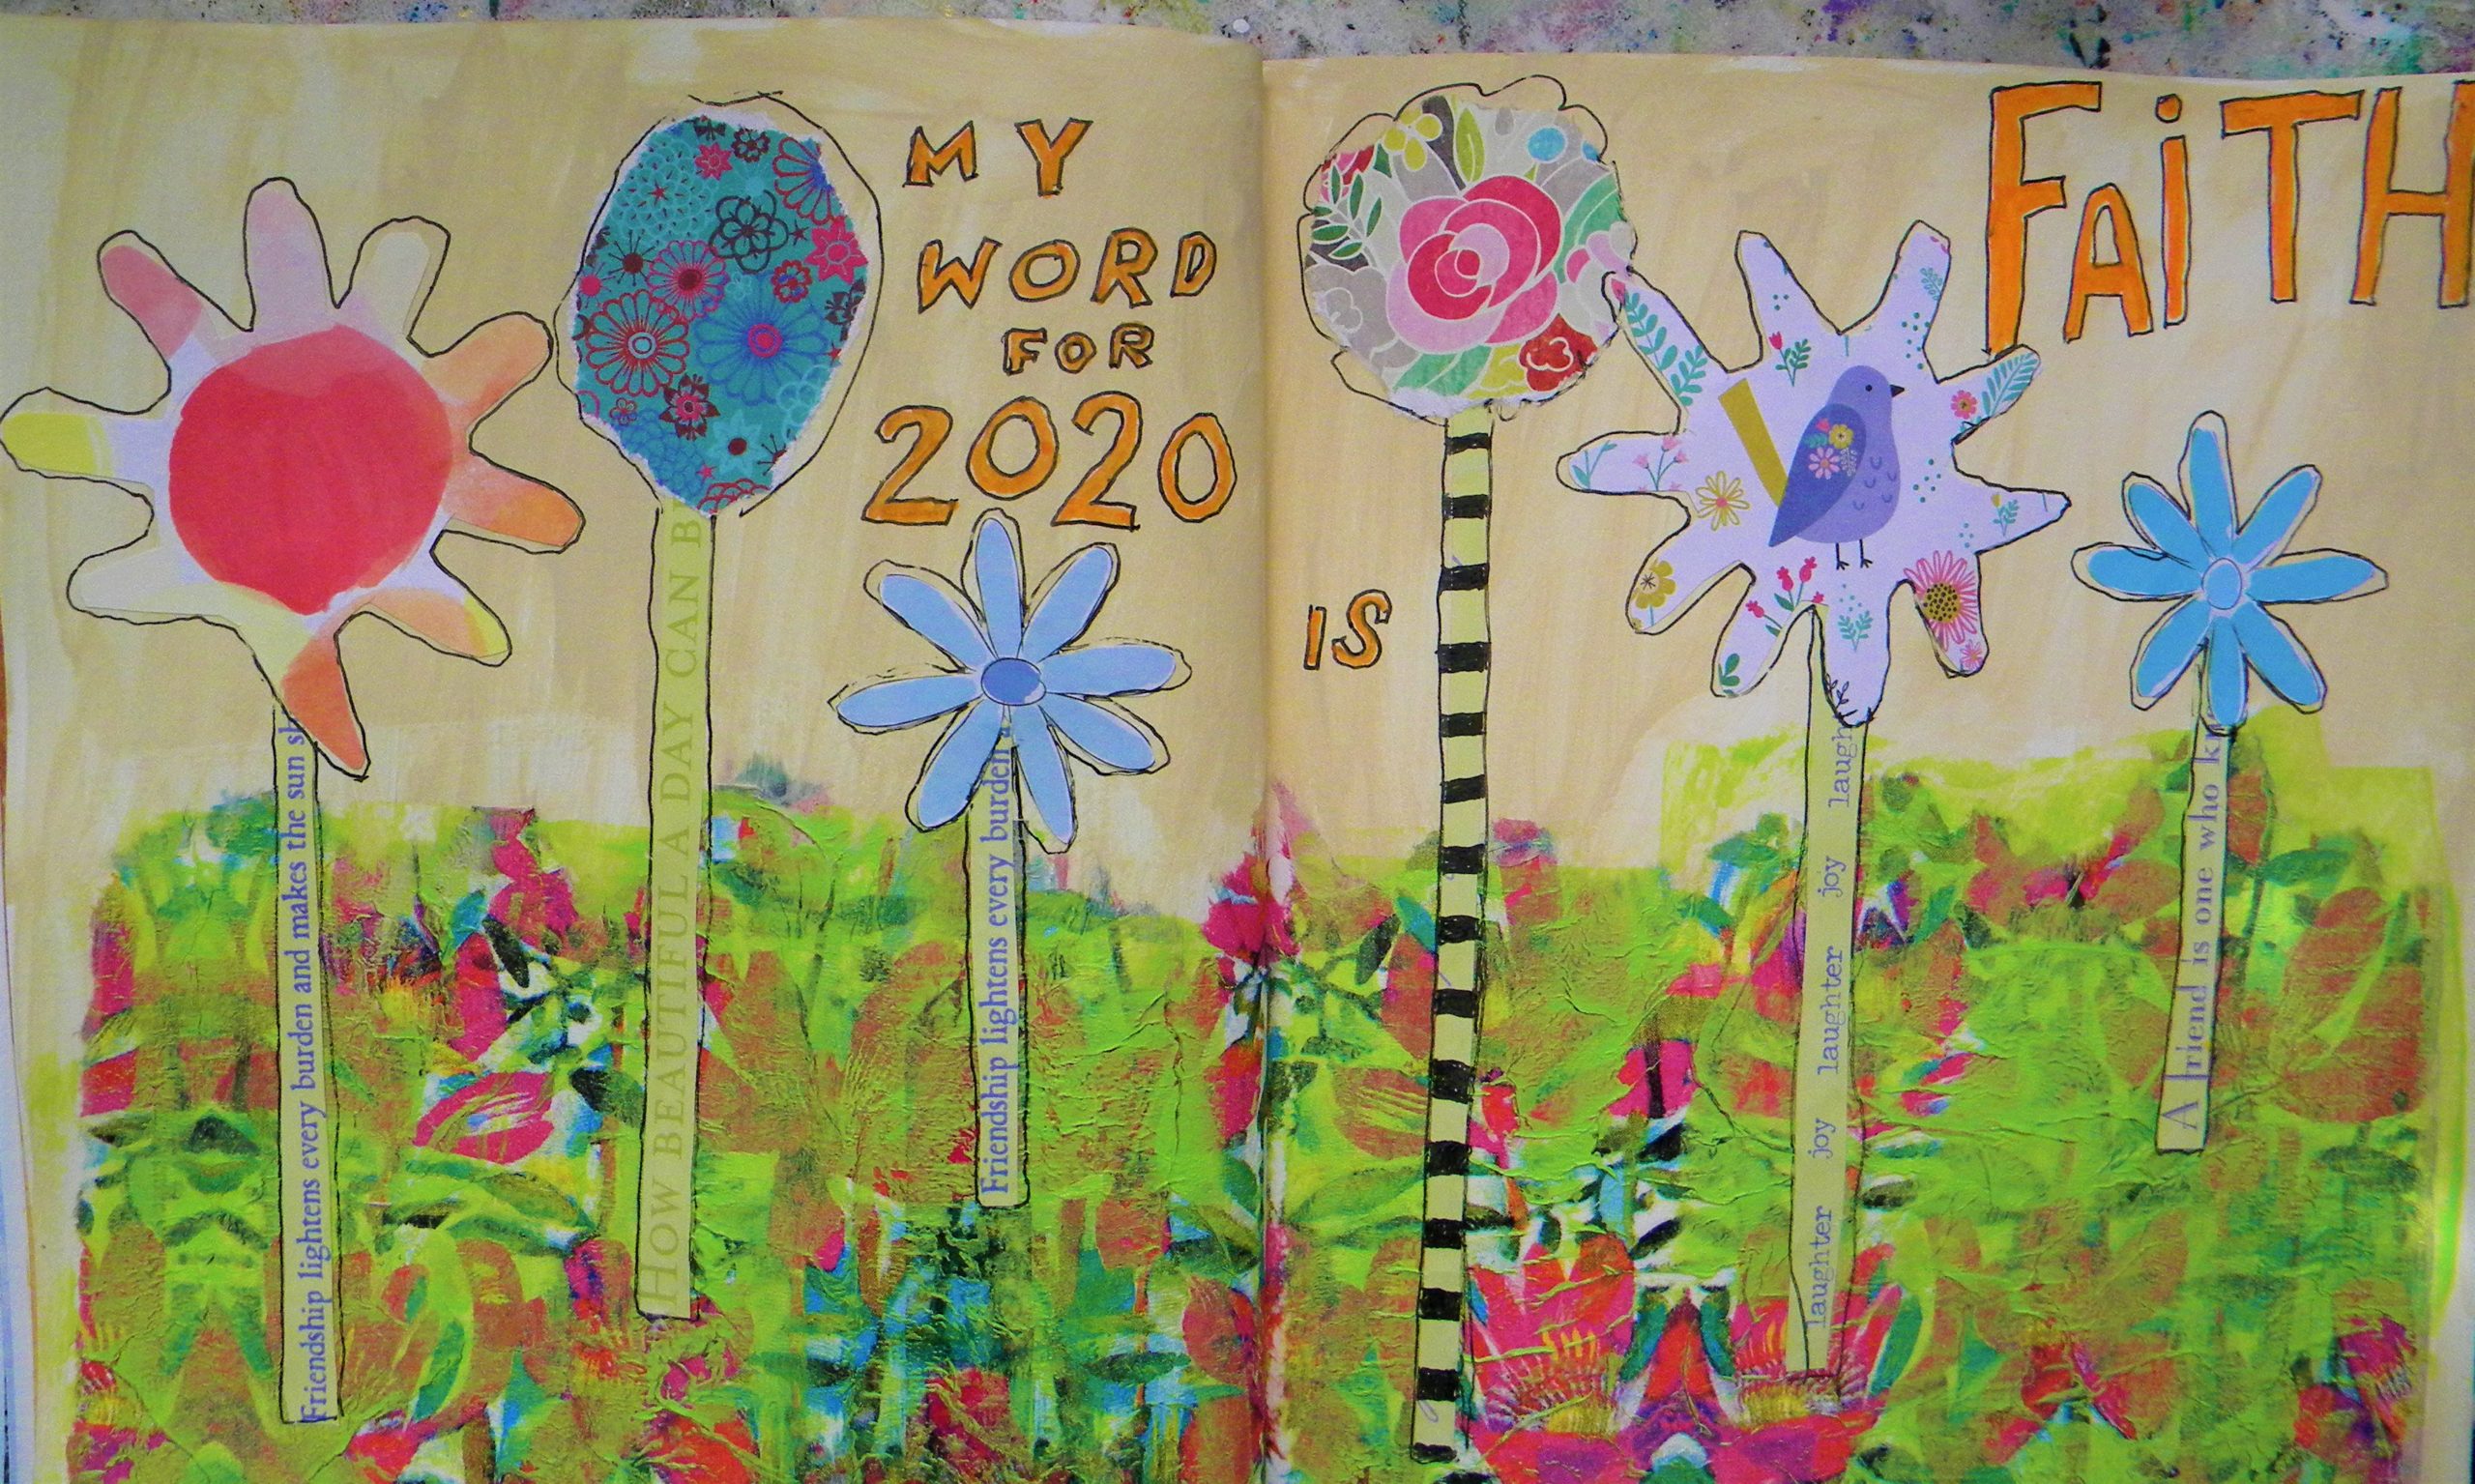
I made some mixed media art /paintings, and had a huge struggle to get past the super messy backgrounds. It was as if I threw everything single technique at them before I could see any steps forward. It was a messy slump indeed, but I gritted my teeth and moved one inch forward every day. I hated the panels!
I don’t have any process pictures, but these happy summer motifs came out of all that angst and disgust. To top it all, the art looked happy, the colors bright, full of joy. Go figure.
They are different than my previous painting expressions, but I felt good about the new direction. Who doesn’t like a happy summer day?
I also tried some wood panels, and I LOVE THEM! Painting on a hard surface is easier than canvas somehow. You have to experience it to know.


They are a mixture of messy paint, decorative papers, and in one case, scraps of lace.
The painting below ended up with loads of paper strips for hair. It was painstaking but I liked the result.

I have been admiring dioramas on Pinterest, and I made a couple, though I had no idea what I was doing. It was loads of fun! Something for you to try if you get into a creative slump??


The fairy in the second picture was store bought, and I created the landscape around her.
So when all else fails, try a simple collage or a diorama! Painting has been my hardest taskmaster. Crafts are more relaxing and not half as challenging. So, in conclusion, to grow we need to do more of what challenges us…
If you missed my last tutorial on funky paper dolls you can check it out HERE.
Have a great creative weekend!
Lots of love,
Maria
P.S. The above items are for sale in my etsy shop, Earth and Faery.
If you’d like to get my newsletter once a month, sign up a the top right corner under News.