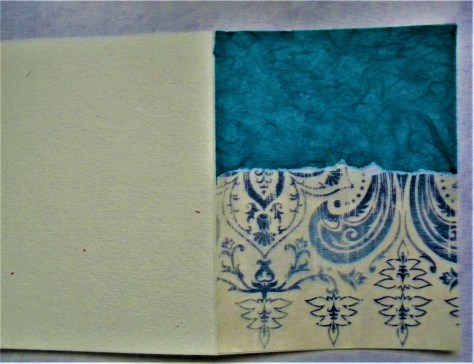
Gold dust comes in many forms, but in this case, I’m referring to the stuff that comes in a plastic tube purchased at Michael’s. I don’t use it often, but I wanted something special for this latest “book” box I made this weekend.
I spread some gloss medium over the surface and sprinkled the dust while chanting “abracadabra.” (Kidding)
Too bad you can barely see the twinkles in the pictures. I tried from many angles.

There are many layers as you can see, and lots of texture.
Lately, I have been stretching my imagination to make different things, using some of my mosaic tiles, but trying other types of layers. I have a pretty extensive collection of ephemera that I gathered over the years.
It has not been easy
I struggle with new ideas all the time, and often I feel stymied, either for lack of tools, but more often fighting myself and doubting that the piece will turn out well. It’s a constant challenge to try to picture what the finished product will look like, and I have to trust the process and just do it.
I’m used to the struggle, and in that, there is a blessing. By showing up in the studio regularly, I have learned to ignore my doubts. In other words, the trust muscle keeps growing the more I show up to create.
I don’t always like what I make, but I’m kinder to myself than I used to be.
A tip for you: When you see pictures you like, cut them out and save them for later.
I’m always on the lookout for new fodder, and I keep them in storage bins from the craft store. I sometimes (always) forget what I have, so I have to rummage through every time.
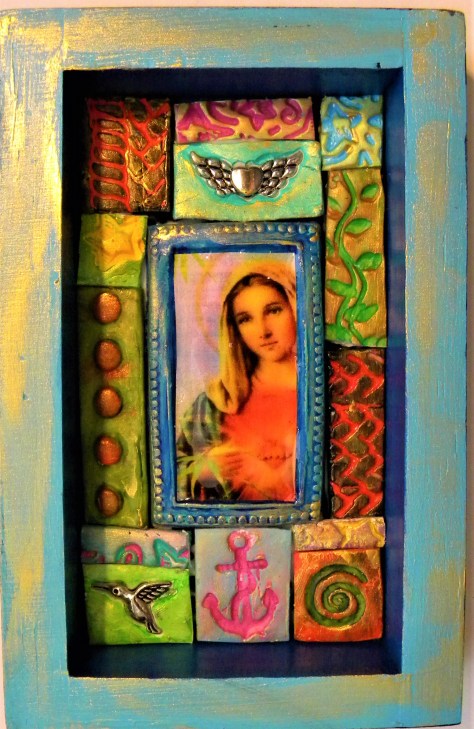
Last month I made a bunch of shrines out of old Altoids tins. I have made more mosaics this month. Here are some examples:


Talk about being out of my comfort zone
The seascape plaque above was wholly out of my comfort zone, but I decided to do something with waves and stay with the blue/green range of color when I made it. All I had was a wooden plaque and a cutout of a dolphin.
It was a bear to cut out the polymer clay and make sure the pieces fit the heart and butted up correctly to the other waves. It came out okay, maybe a bit lame. I like to make some kind of statement with my art, but this will remain pretty and nothing else. 🙂
What are you working on now? I hope you got some creativity buzz this weekend, but if you didn’t, there is always TODAY.
The struggle is real, but so is commitment. Art making is a happy addiction. It sure beats most other things, including chocolate.
All the above pieces are available in my Etsy shop, Earth and Faery.
Have a great week!
Lots of love,
Maria
P.S. If you need some more inspiration, check out the Instagram artist feeds. There are some fantastic makers out there. My username is @greeneearth if you want to connect.
If you missed my previous post on how to make one of these mixed-media “book” boxes, check this out: Magic Journal Box Tutorial.