Make a mini shrine today I told myself, and make it a tutorial. Yes, that sounded like a good idea. I have some digital print-outs of the Virgin Mary. I love the old-style art. I also have some Tim Holtz metal frames sitting around, so I decided to use one.
But, I have also made some molds lately, including frames. Check it out:

The metal hair clip made a terrific indent for polymer clay flowers. I have already made a bunch of those. I used some on this mosaic mirror:

Back to the tutorial:
I used an empty Altoids tin for this mini shrine.

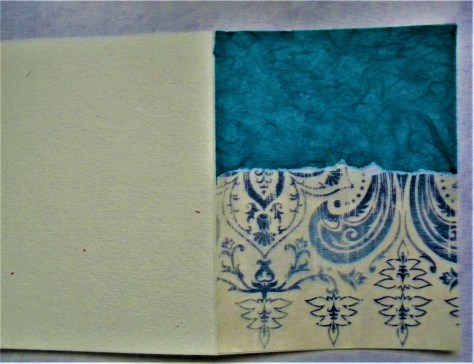
But you can use any old tin on hand or buy one. I used the tin as a pattern for the heavy-duty decorative paper I used to cover the embossed lid.

I then gessoed the back and sides of the outside tin to cover the printed metal.

I glued down the paper with craft glue that I spread evenly over the entire surface. The Mary icon I brushed with Mod Podge front and back to preserve the ink image. Then I glued it to the frame and filled in with some cut out white flowers. Then I spread Judikin’s Diamond Glaze all over the image and let it dry. Depending on how thick you spread it, expect to wait a few hours for it to dry.


I used some starred tissue paper to make a second layer of interest to the lid.


It took me a while to add the small mosaic tiles since the corners are rounded, and I had only so much space to play with. I was happy with the outcome though.

I had glued down the paper on the front, and then I decided to add a paper border. Lots of measuring and gluing to get everything to fit. I pondered what to use for embellishment on the front. I had many tiles to choose from. I ended up with a leaf tile and the word soul.


On the inside cover, I glued down a heart charm and the word peace.

I painted the outside lavender and added a paper border to the edge of the lid for more interest. I was happy with the end result. I made another tin the other day. Check out the pictures.


I never know what will inspire me from day to day, but as I consistently show up in the studio, something calls out and I make it or paint it. Life is good!
If you are not happy with your life, make something with your hands. Crafting is very satisfying, and it takes your mind off other not-so-pleasant things. Word!
I made some different polymer clay mosaics lately, one of them the mirror above. They don’t make mirrors like that with a flat rim anymore, so I had to buy a plain frame and have a mirror cut for it.

You are loved…
You are loved wall plaque is something I listed in my Etsy shop this week. You can check out all the new items on Earth and Faery.
A couple of years ago, I made a YouTube video on how to make a tin shrine. If you prefer watching to reading, check it out HERE.
I have posted another tutorial lately on how to take an old painting and transform it. You can check that out for inspiration From Drab to Colorful.
Have a wonderful weekend!
Lots of love,
Maria