From drab to colorful

From drab to colorful is a transformation of an old painting into something new that better fits me as the artist I am today. Painting over an old painting does not give me a sense of doom, lol. I’m not attached to my paintings much. When they are done, they are mostly out of my consciousness.

The paintings I can’t sell, I paint over. The forgiveness of acrylic paints is great. No matter how many layers, the paint only looks richer each time.

This particular painting went through several huge changes, each stage very different. Here is the end result of the transformation, and the pictures of the old finished paintings.

from drab to colorful
The painting started here.

I painted this face back in the day, but it never left my studio. I then painted some layers on top and the white as a last layer. I saw two drinking glasses in the shapes, but I never liked that painting. It was too colorless for my liking,

Here are pictures of the progress that brought the art to its current state (as in the first picture above.)

I added lots of marks and details, and some “loud” drips that took over pretty much everything. Then I painted over most of them.

from drab to colorful

I was not happy with the blue ground and the flowers. They dominated everything else, so I diminished the blue, as you can see in the next picture.

from drab to colorful

In the above picture, I toned down the white outlines on the flowers. They are better, but I’m not totally happy with them–may be too big. I outlined the houses with charcoal to make them more pronounced. It ended up becoming a happy painting despite the giant flowers.

What if the painting doesn’t work out?

You never know how things will evolve, but you have to put yourself into the center of the action. Don’t agonize and wait, just try something. You can always fix what doesn’t work. The most important thing in creating is to take action, no matter how hard the fear pushes back.

Action = courage = more action = results.

Sometimes you have to work on a painting with courage you didn’t know you had. Results, whether they are good or bad, will happen. You never know until you try.

If you struggle with fear, here is a helpful post: Fear Holding You Back?

Here is another post: Procrastination is an Ugly Beast.

Have a great creative weekend!

Lots of love,

Maria

P.S. Check out my items for sale in my etsy shop, Earth and Faery. There are some fantastic gift ideas.

Old art feels new again

Old art feels new again if enough time goes by. Some art doesn’t, and those canvases can be painted over with newer impressions, but sometimes I pull out an old painting and pause. If it touches my heart, it’s still good. It was created in 2007.

That’s how universal art is created.  It has a timeless quality.

Mind you, everything is in the eye of the beholder and I’m of course partial to my own art.

I’m amazed how many styles I have tested over the years, from Americana folk art, to abstracts, to all sorts of mixed media, and now mostly intuitive art, which is really abstract if you want to be picky. Though sometimes weird figures abound.

Here are some pictures of my 2007 painting, Magic Happens:

old art, magic happens
Old art


old art
old art

I used all kinds of texture, from polymer compound to collage to crumpled tissue paper. The paint enhance the texture in major ways. The hand was cut out of a magazine page, my own hand pattern. Then I applied layers on paint on top.

old art
So much fun! The bird spreads some words of wisdom through her song!

old art
Check out that texture! I think I used large bubble wrap to create those texture circles. I was in an experimental mode for sure. 

This painting is available for sale in my etsy shop. You can head there if you want to see more pictures. I uploaded ten pictures there.

Earth and Faery etsy shop.

Have a creative week. I started in my studio this morning and ended up looking at old art. The mind wanders its own path….

xo

Maria

Polymer clay mosaic tutorial.

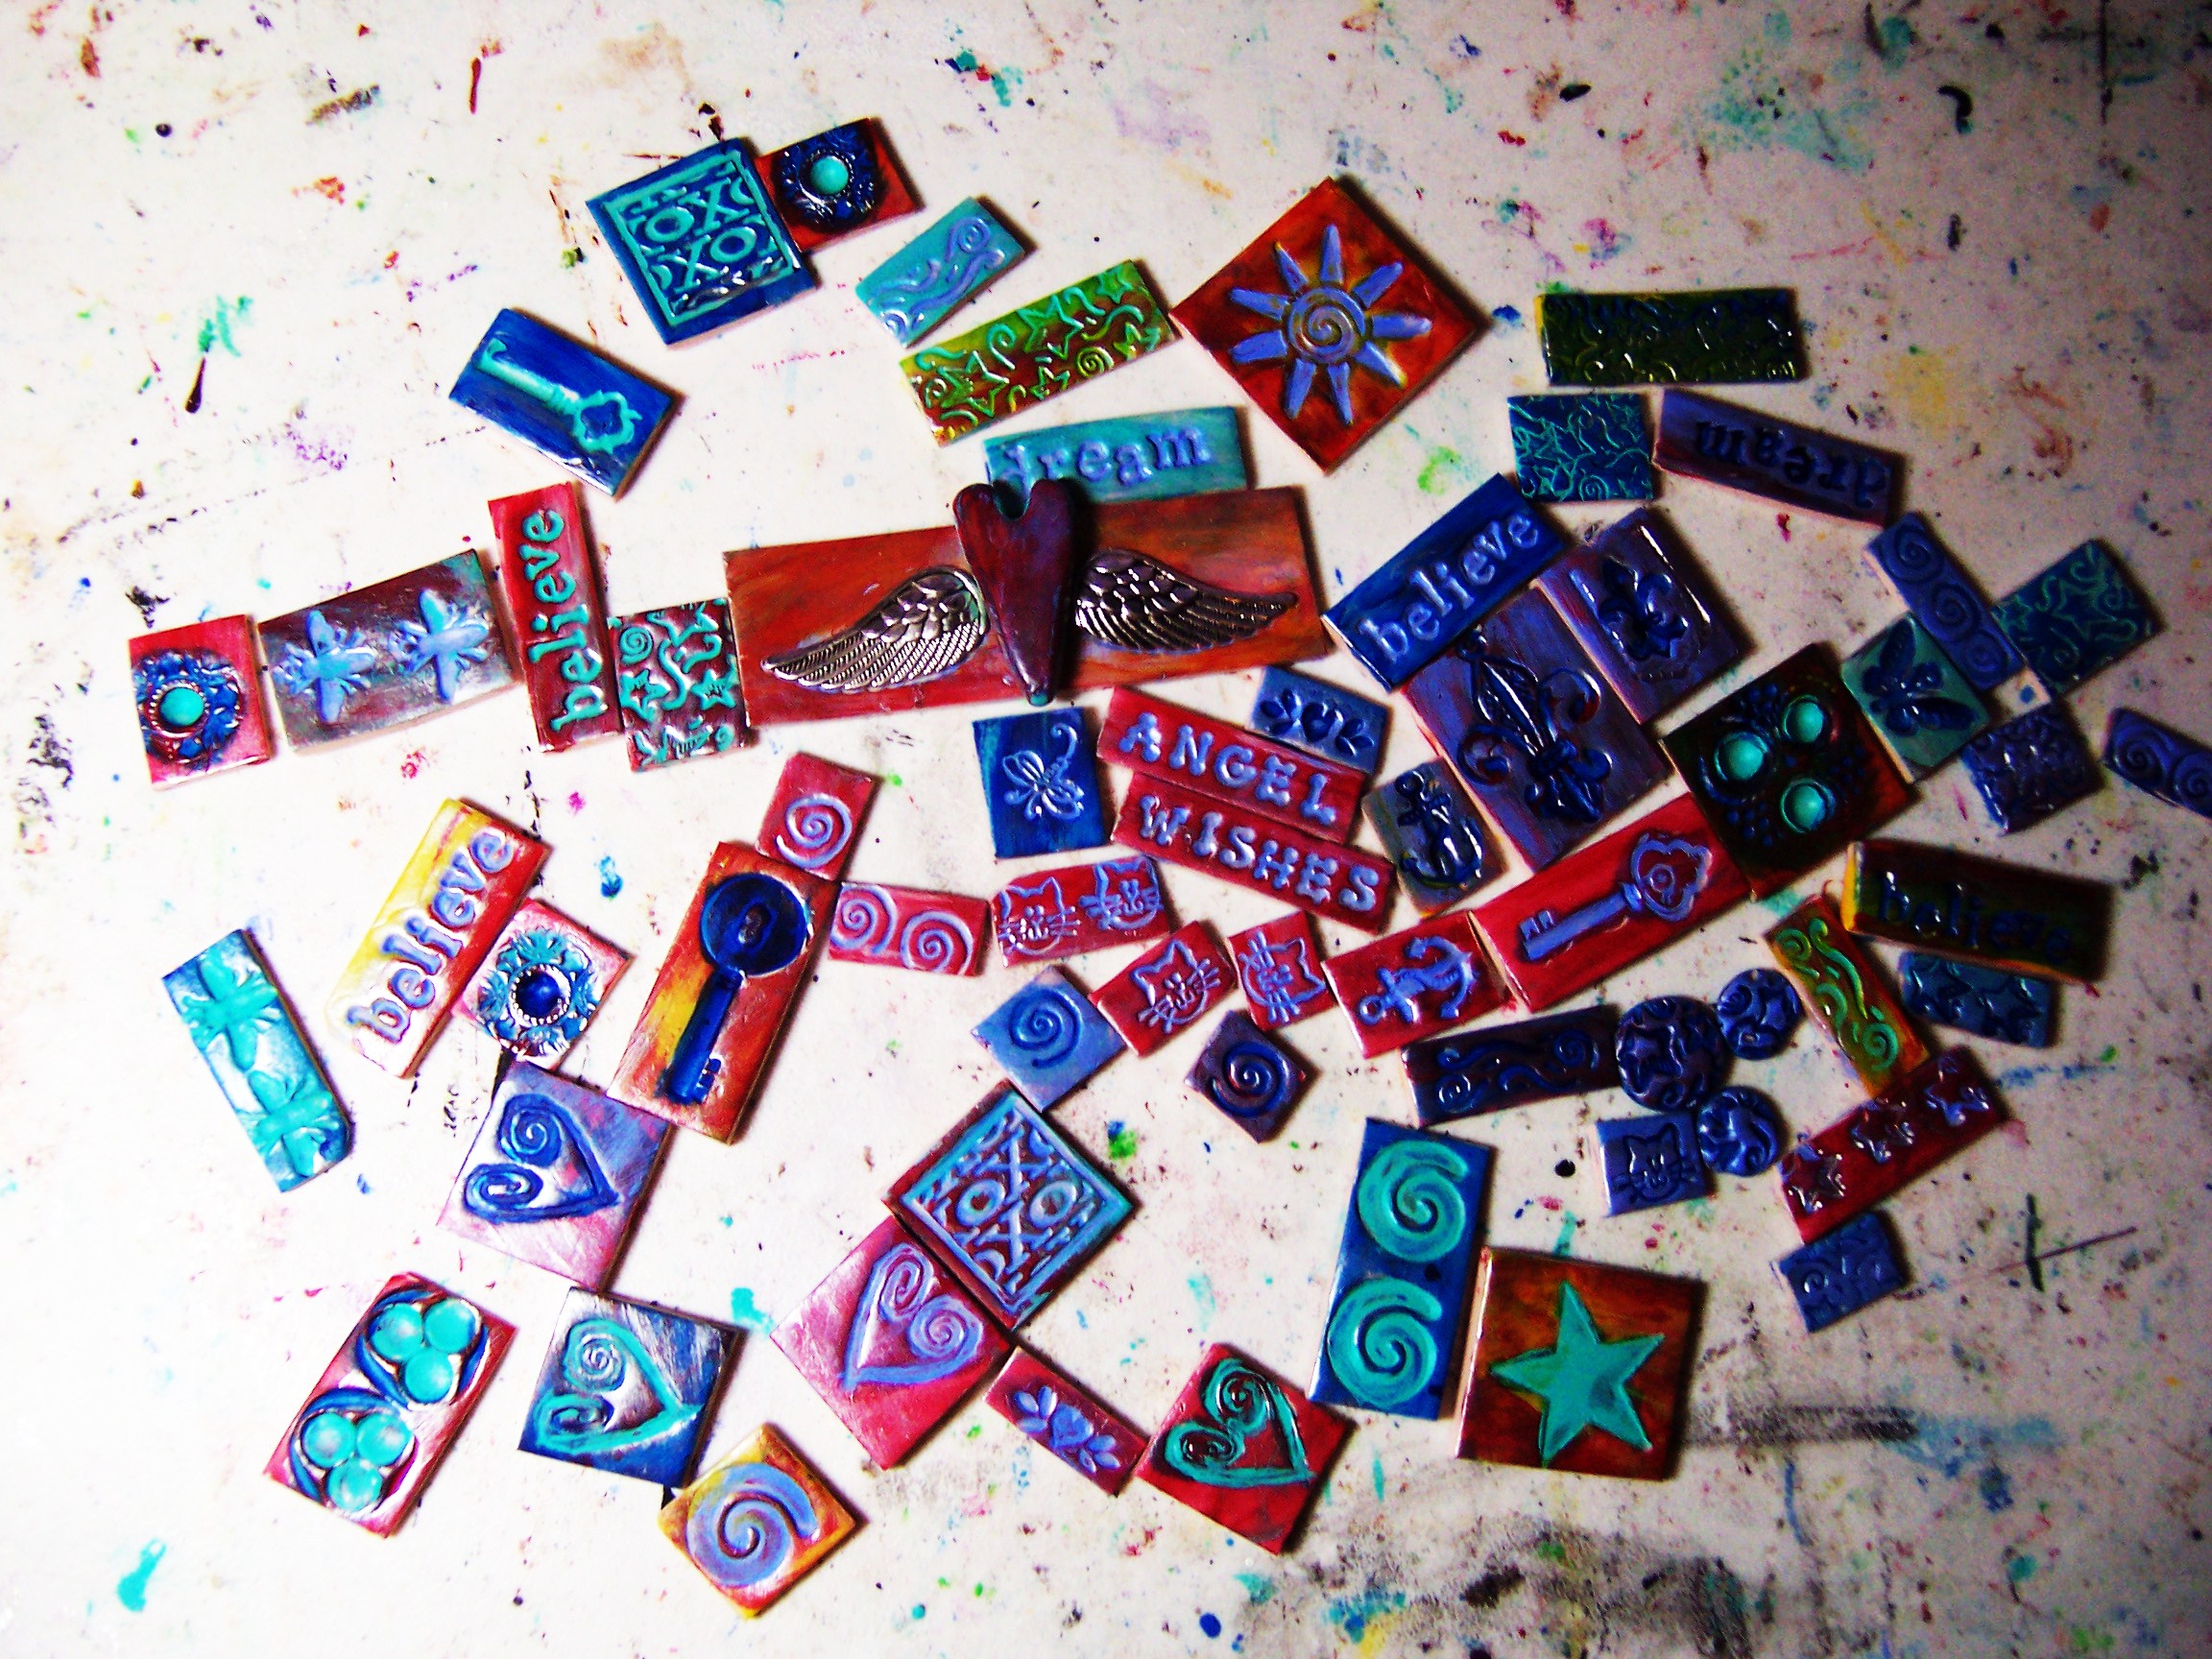
People have been asking me about more polymer clay mosaic tutorials.

I have posted before on how to paint the baked tiles, and there is a YouTube video on how to paint them as well.  CLICK HERE.

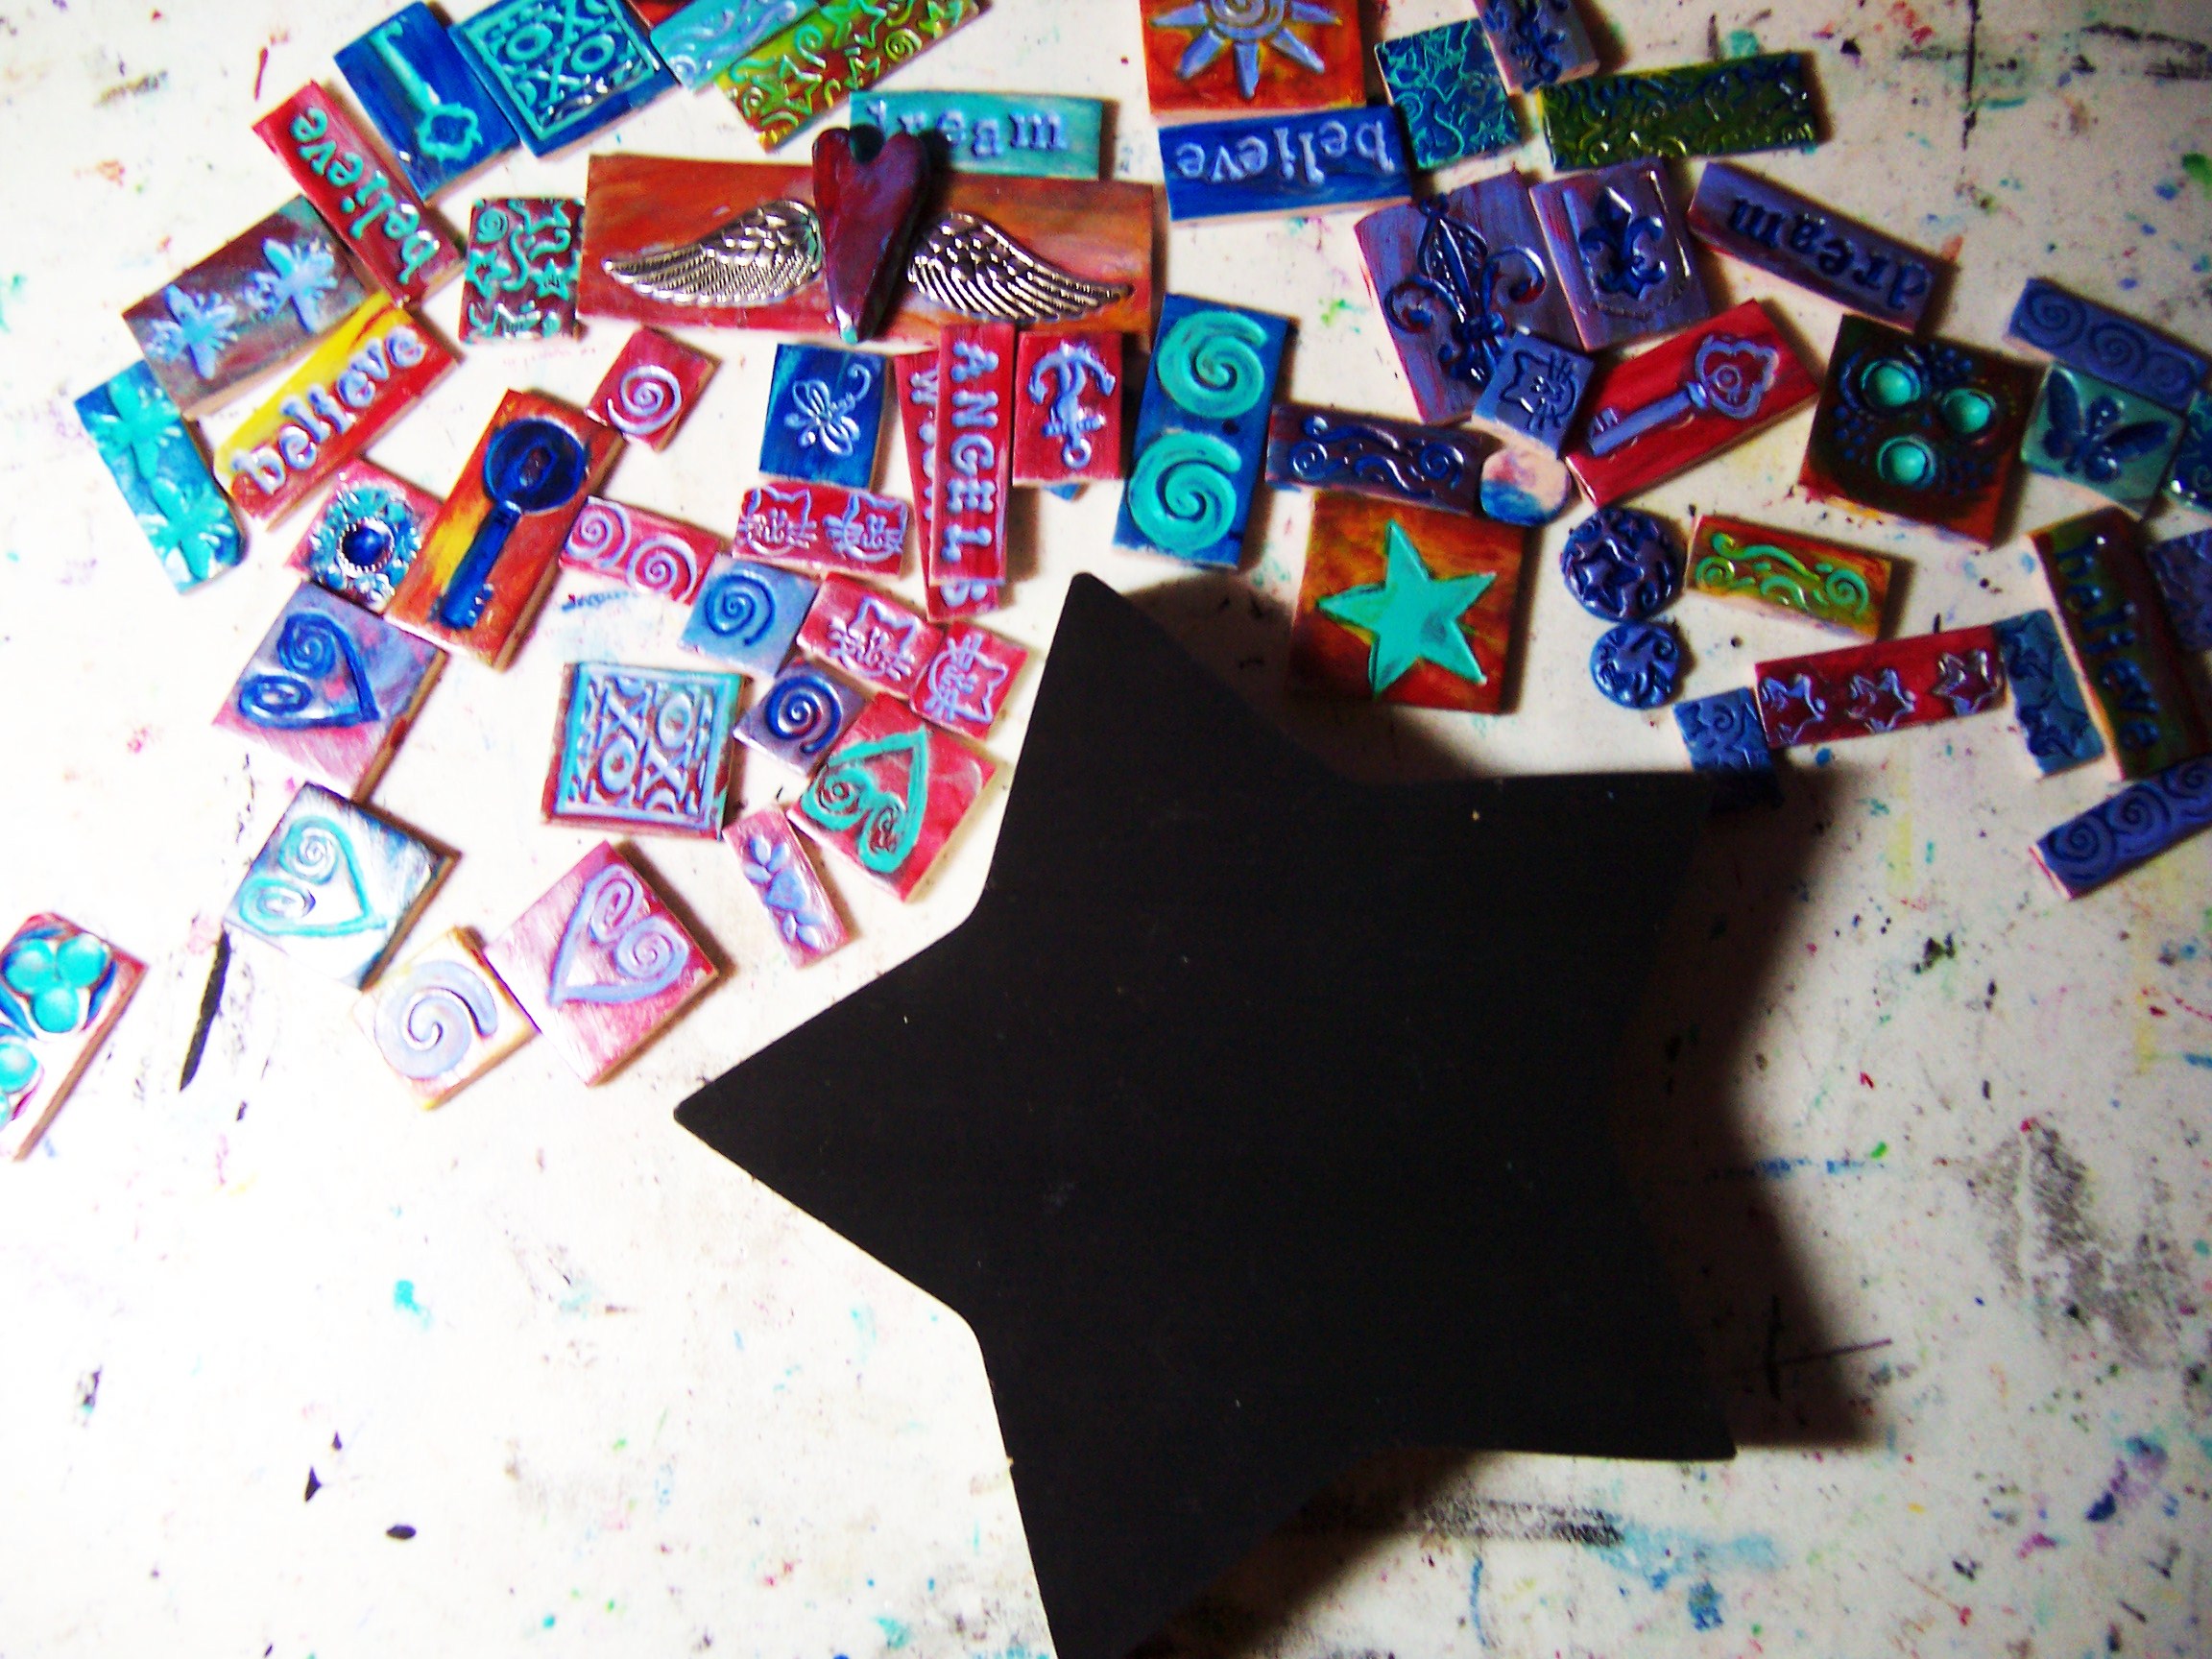
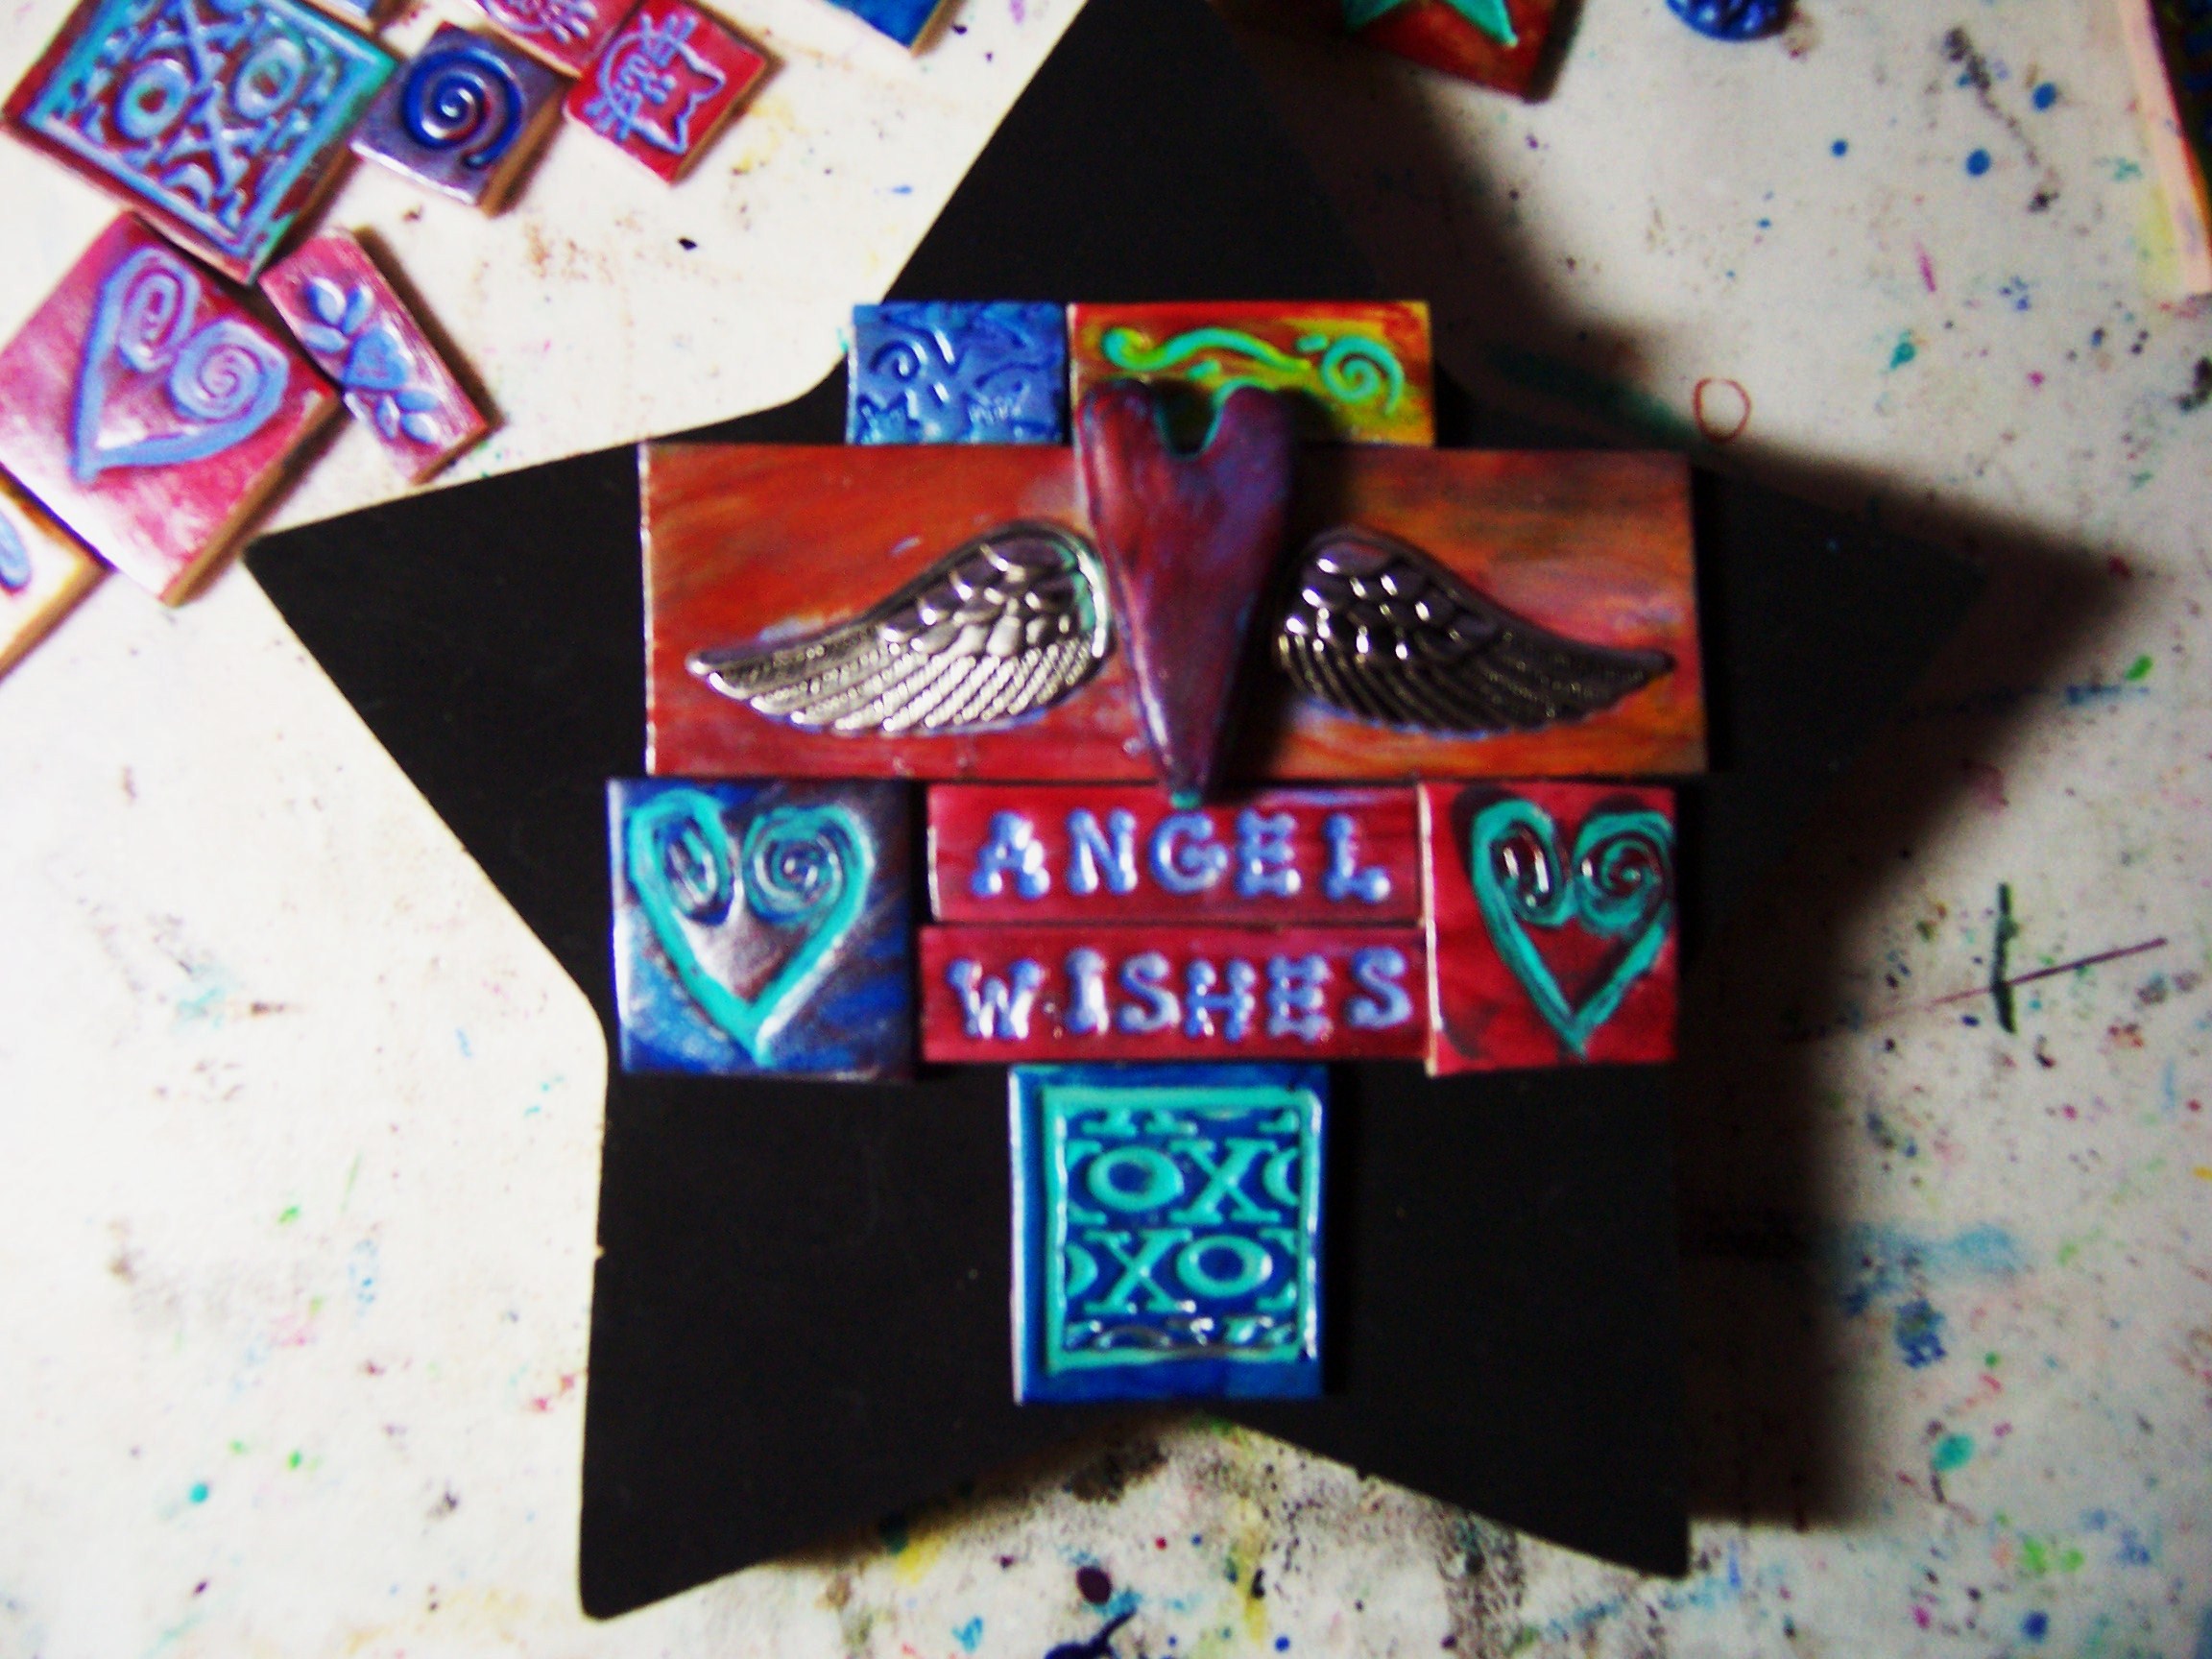
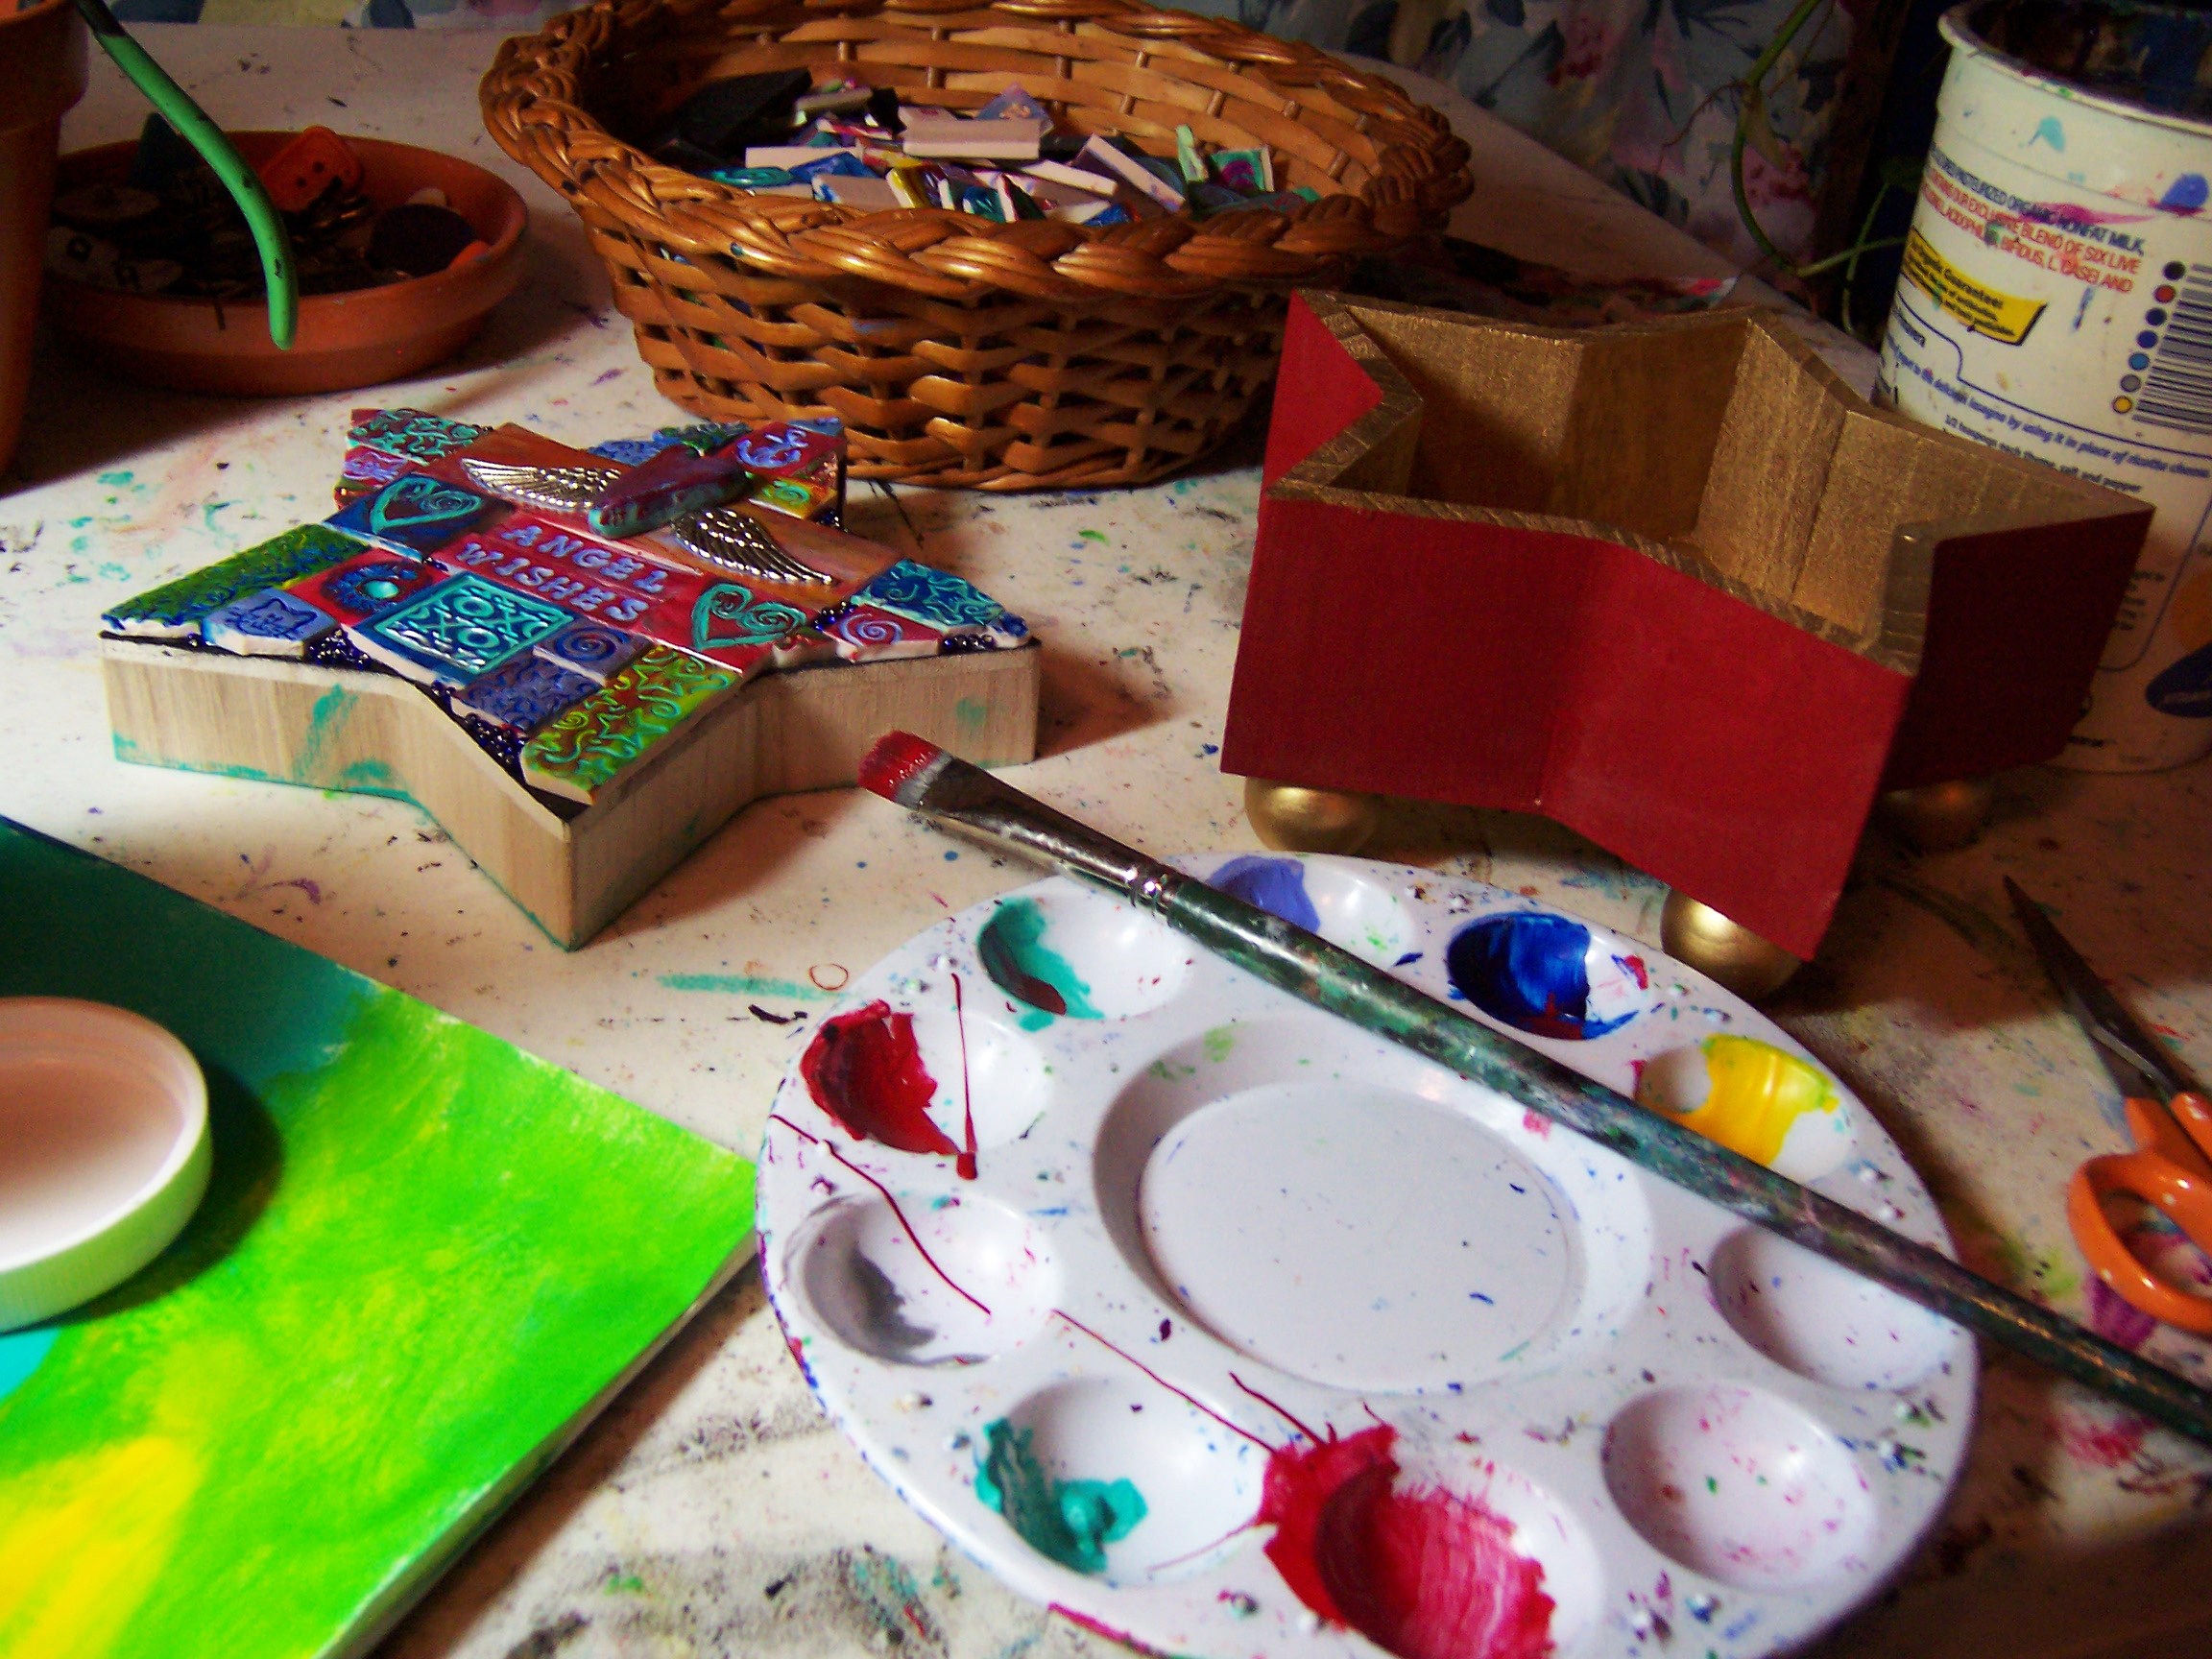
Here are some pictures on how to put the mosaic together with the finished tiles. Since this is a star box I had to fiddle with and cut some of the tiles, which is tricky since they break pretty easily.  It’s much easier to make a square or rectangular design.

polymer clay mosaic tiles
painted tiles ready to be assembled

star box lid
Box top painted black

I paint the lids black to hide any gaps between the tiles. If the gap is too big I place some glue and drop some seed beads to fill the gap.

layout
layout, one tile at a time

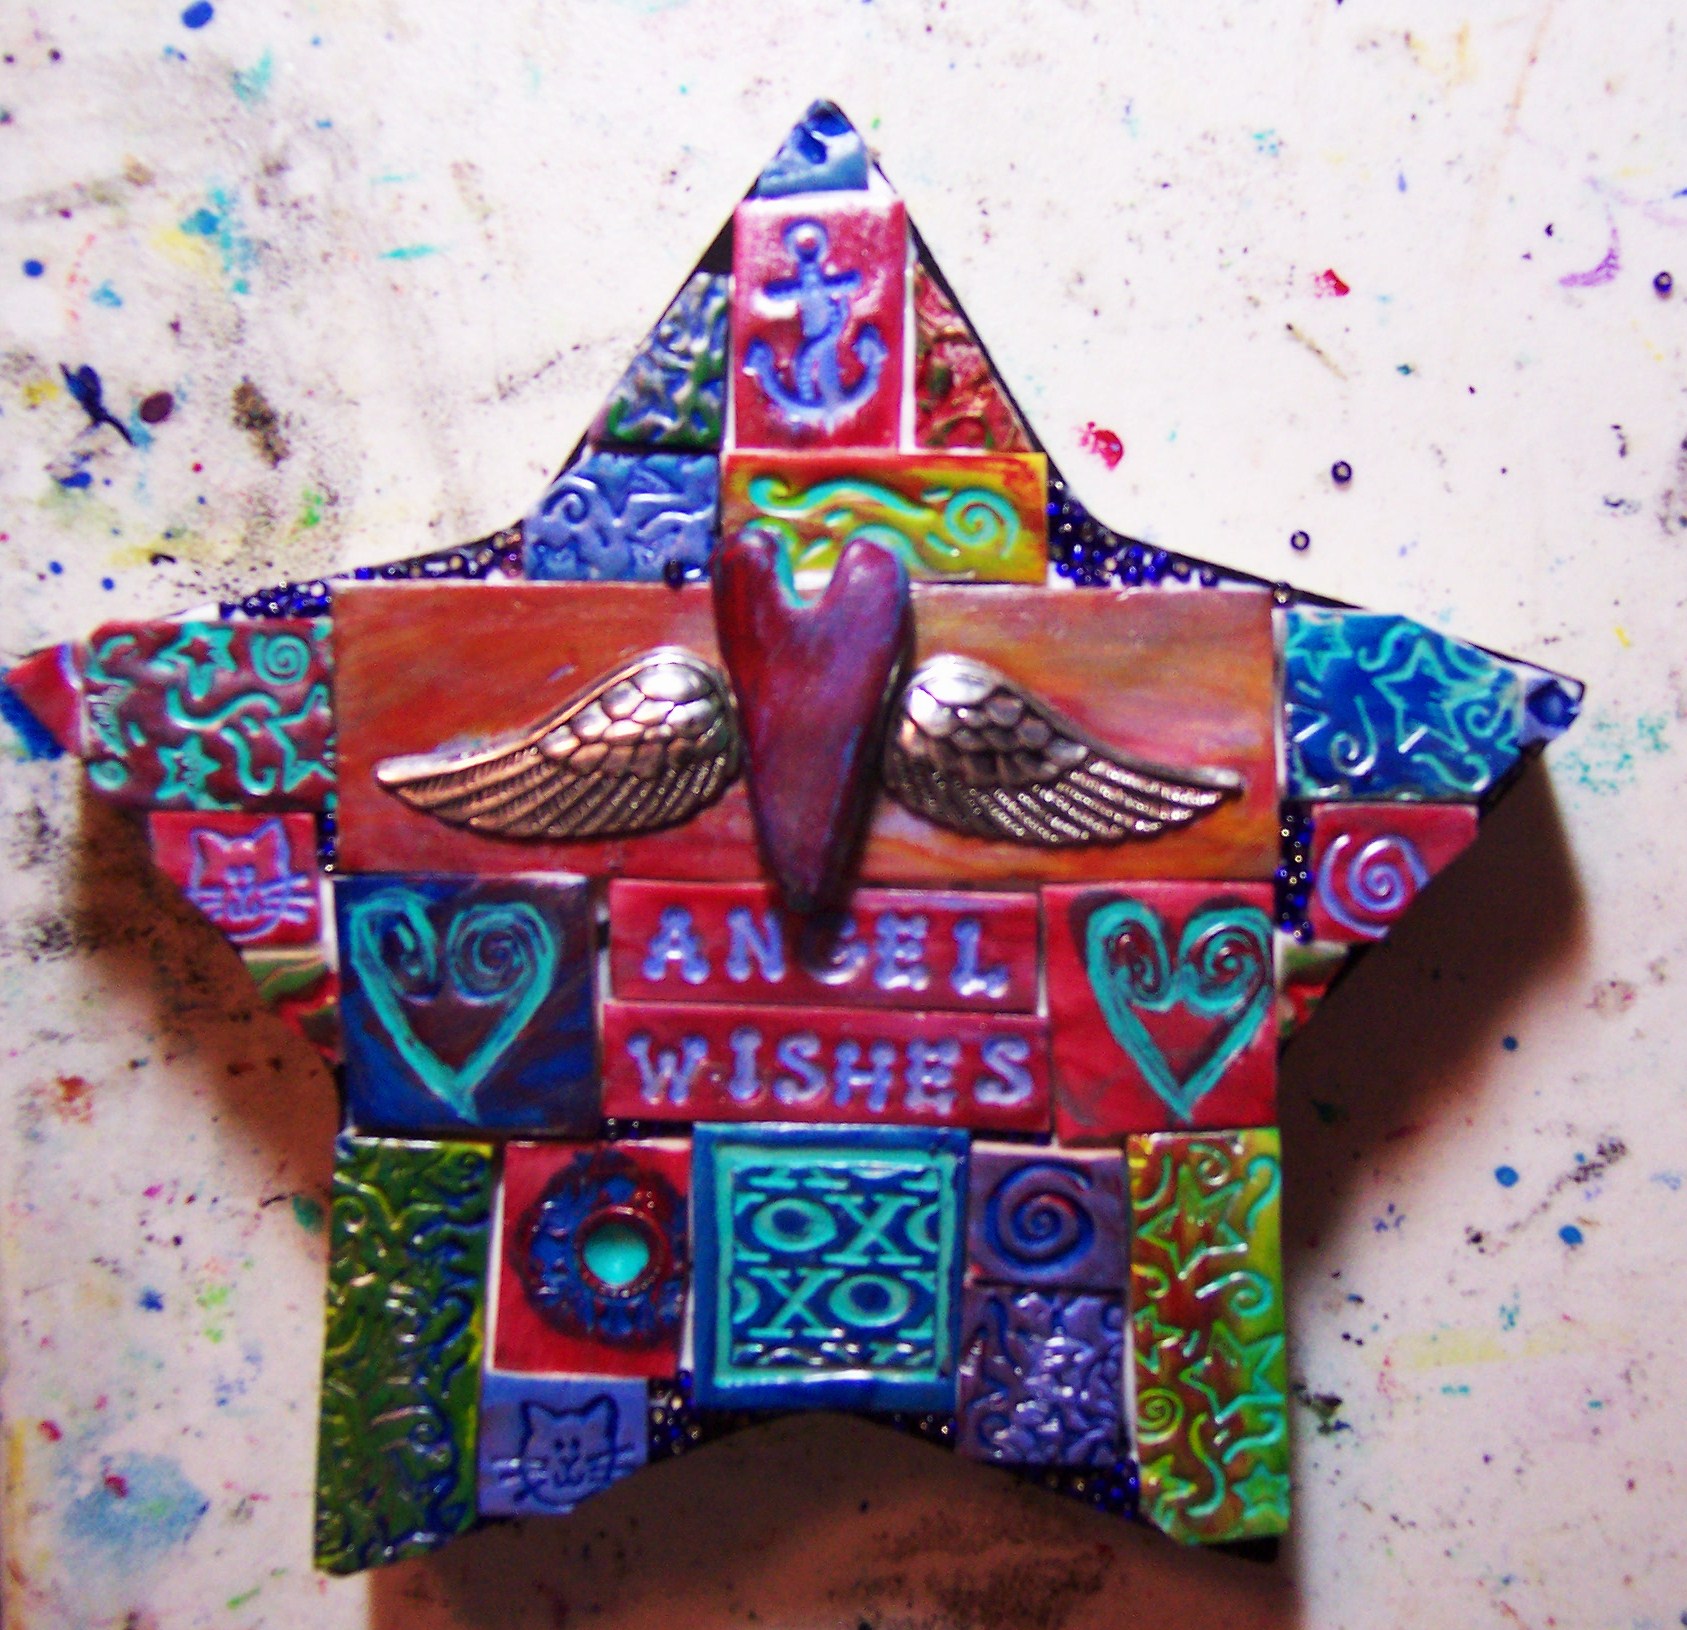
finished design
Tiles fitted and glued down

Here you can see some blue seed beads in the top two corners. The tiles were too big to cut for size.  Seed beads are great and they lend some sparkle to the project as well. Choose a color that matches the main color(s) of your design.

painting the box
Painting the box

I painted the box on the outside with acrylic paints.

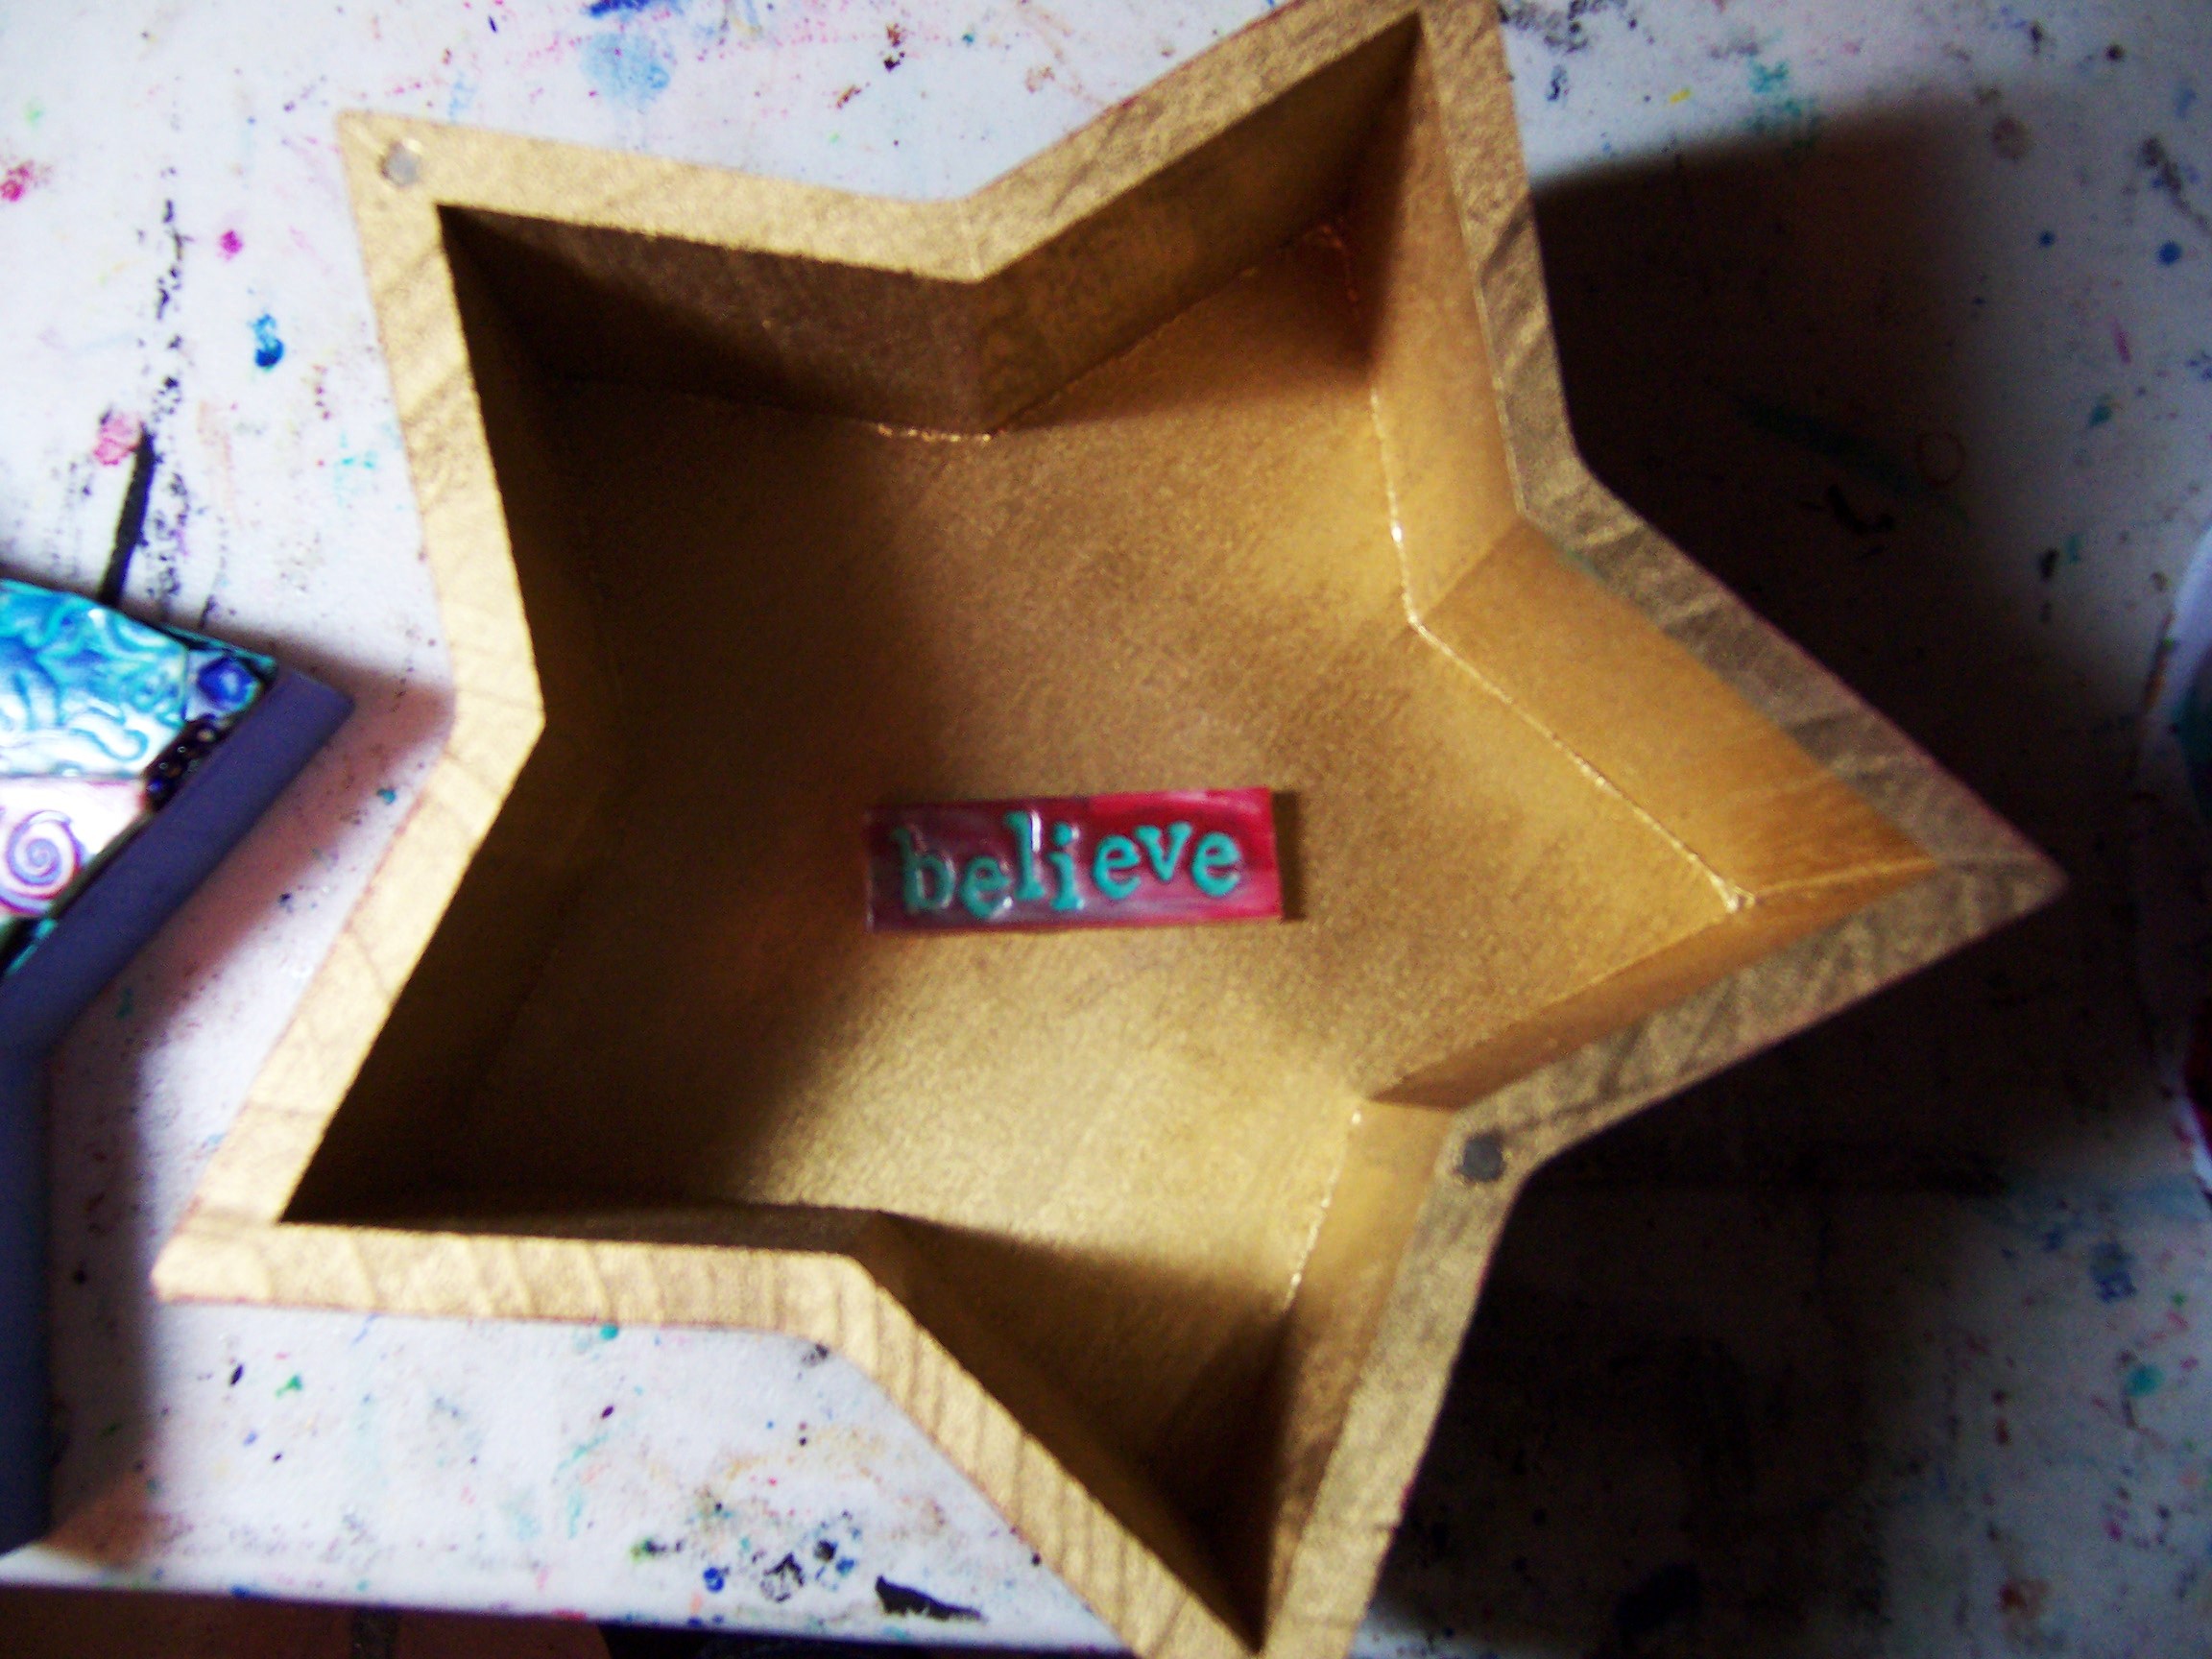
gold interior
spray painted interior

I spray paint the bottom and the interior with gold paint before I paint the rest.

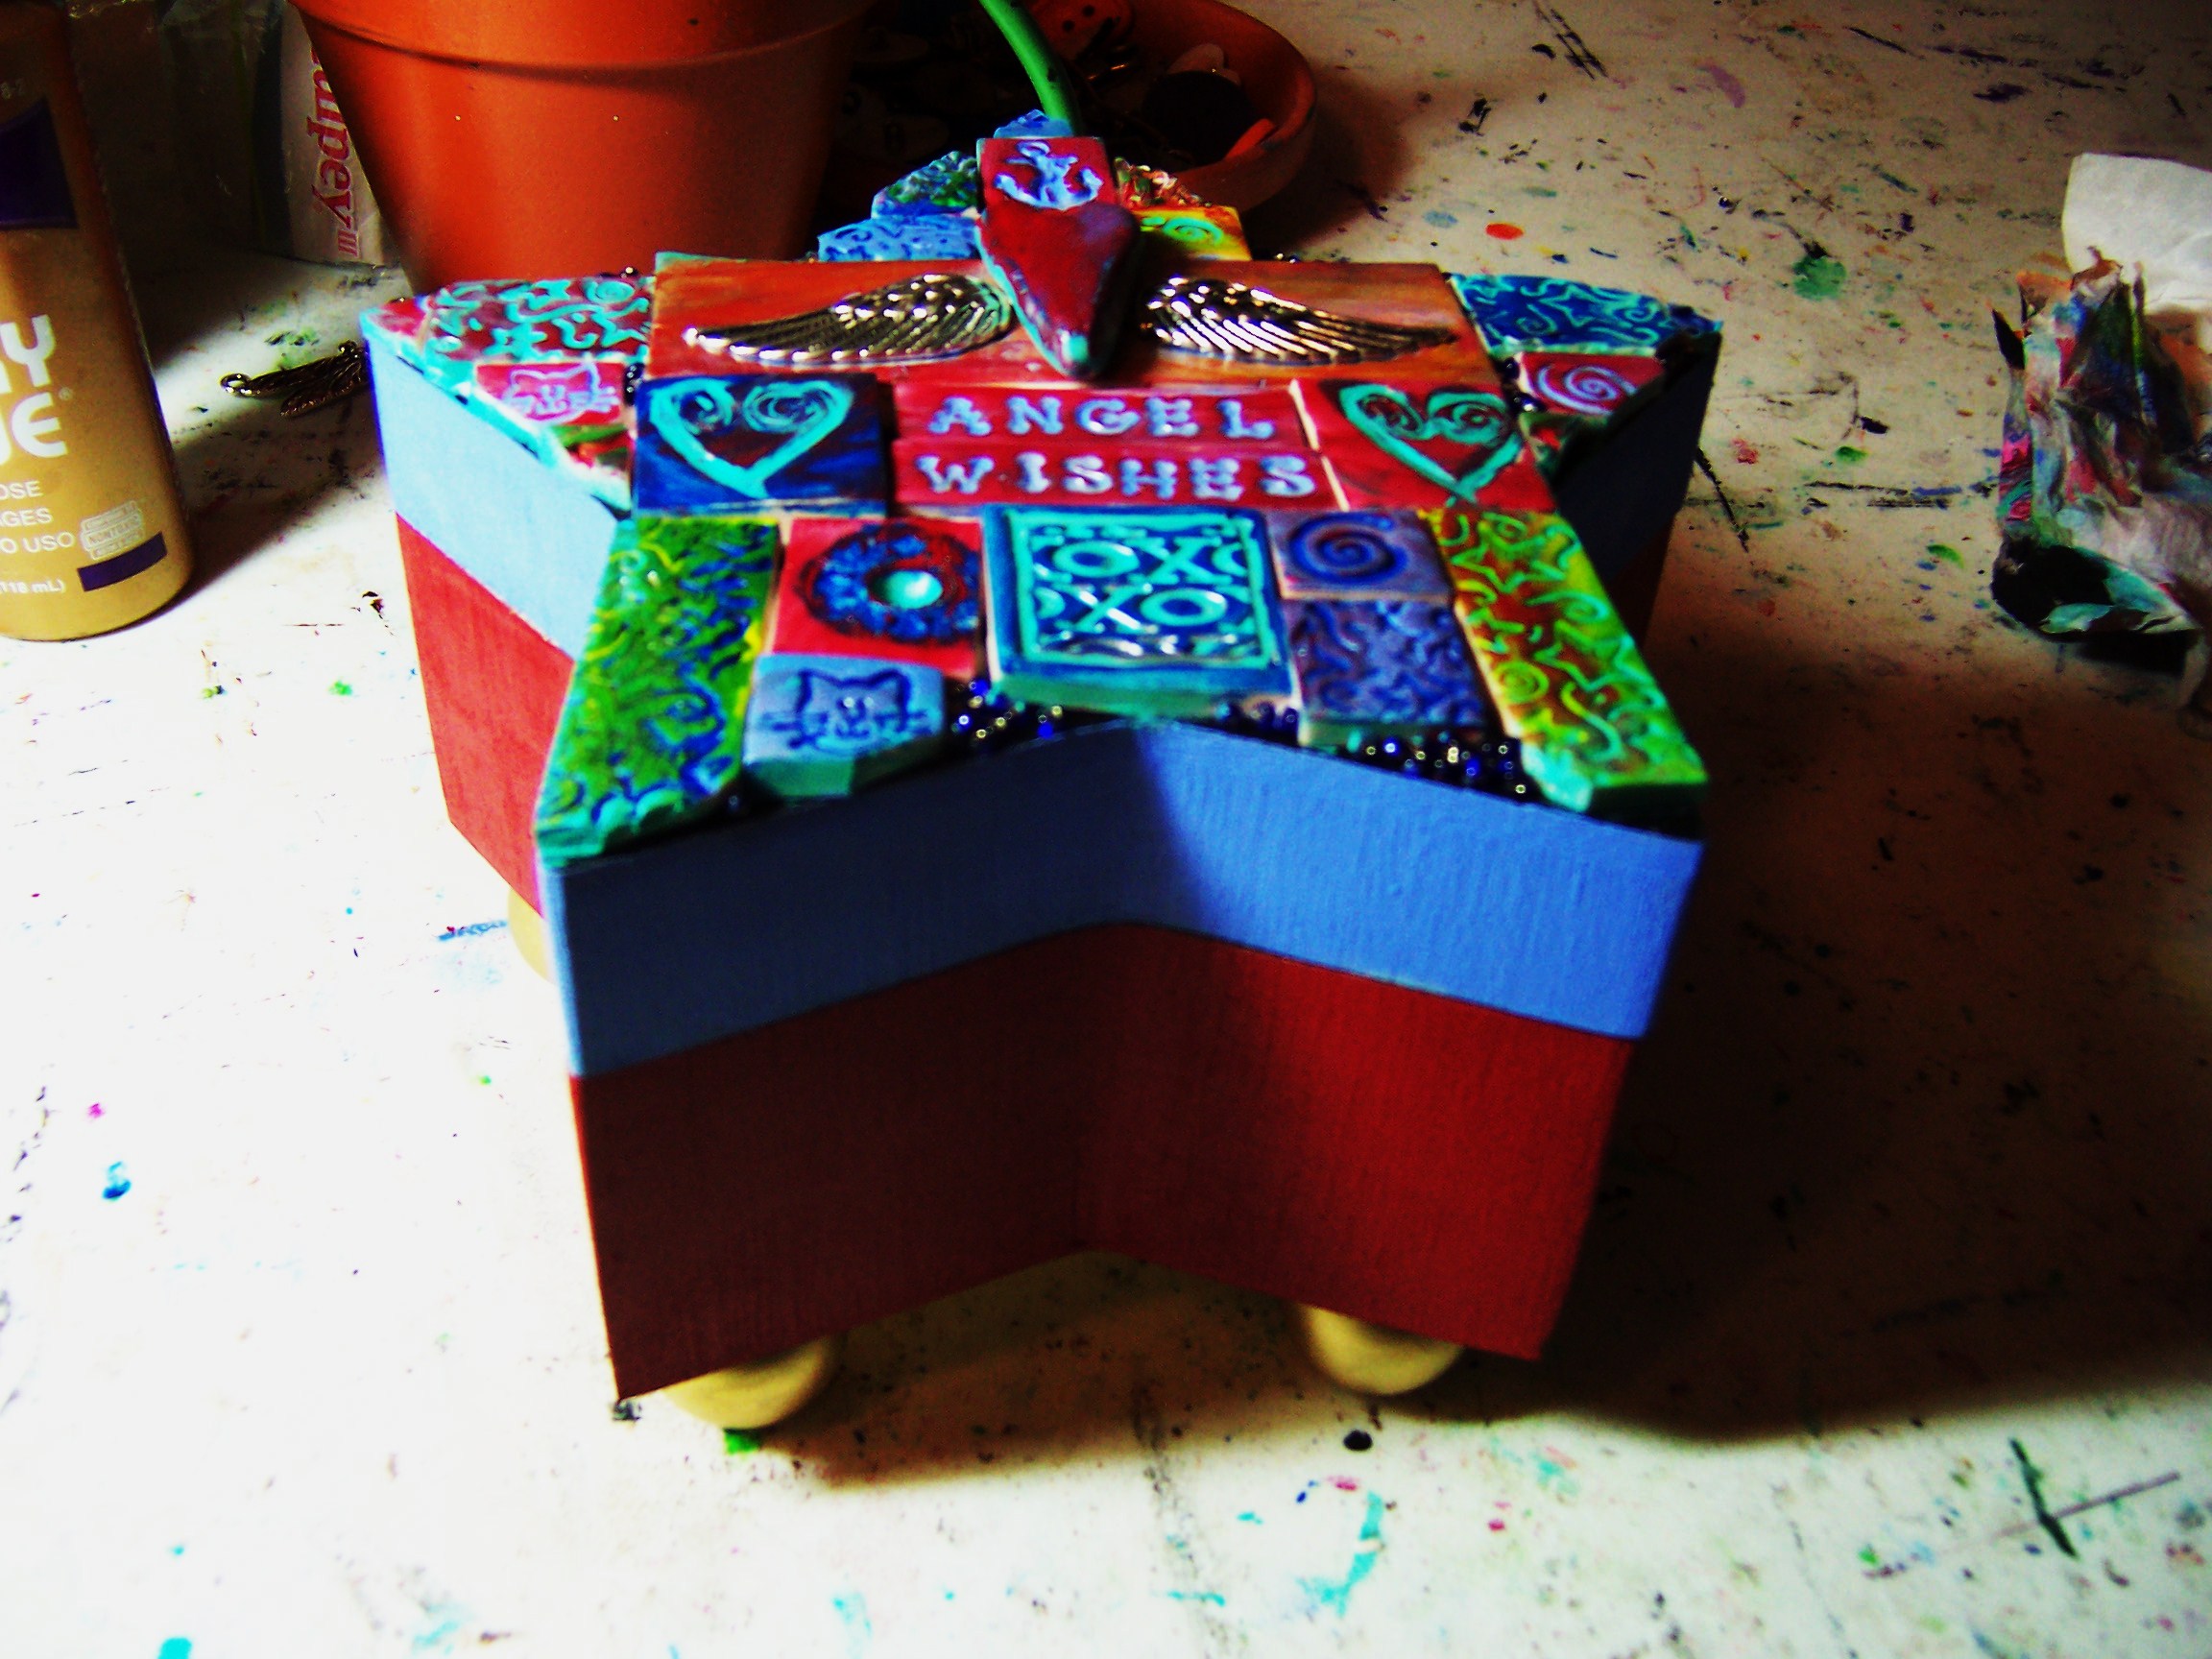
finished box
finished box

What do you think? Pretty colorful. I had fun making this, and so many others.

I made a mirror that promotes PEACE!  I thought that was a worthy thing to be reminded of while looking into a mirror.  Peace begins within and it’s a choice. I even had a Buddha charm I embedded in the clay and baked.

peace mirror
Peace mirror

The mirror part distracts from the frame in the bright outdoors, but there it is. Polymer clay is so versatile you can make almost any design.

I use old buttons, rubber stamps, charms, found objects, and lettering to imprint the tiles. You can use anything that makes a nice imprint.

If you enjoyed the tutorial, please leave a comment.

Please visit my new etsy shop, Earth and Faery.

Have a great creative week!

xo

Maria